Get our FREE Project Planning Guide
"*" indicates required fields
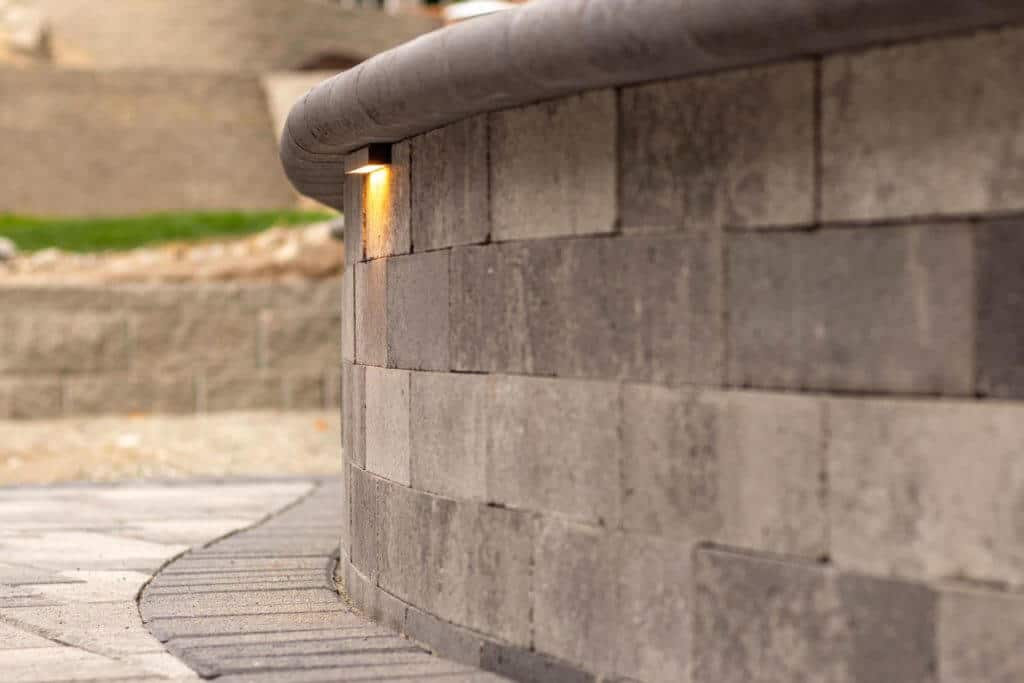
Illuminate your Pacific Northwest garden easily using our simple guide to undercover hardscape lighting. If you’re a DIY homeowner in the PNW, wondering how to brighten your outdoor space effectively, you’re in the right place.
In this step-by-step tutorial, we’ve tailored the process for your region, addressing specific PNW challenges. Worried about tools or tricky connections? Don’t be! We break down the steps, from removing the cap of your column to creating secure channels for each fixture. Soon, your garden will be beautifully lit, even on cloudy PNW evenings.
In six simple steps, you’ll see how to install undercover lighting in any block column or retaining wall.
Tools & Materials
First, gather your tools and materials
You will need a variety of tools for this project. Make sure you have these tools nearby as you begin:
- Work gloves
- Safety glasses
- Dust mask
- Trenching shovel
- Iron rod
- Tape measure
- Carpenter’s pencil
- Angle grinder (with diamond blade)
- Drill (with masonry bit)
- Screwdriver
- Undercover lighting kit
- Low voltage landscape lighting wire
- Landscape adhesive
Steps to Complete
1. Remove the cap
This step is crucial if you’re adding lighting to an existing column. (If you’re still building the column, skip it.)
Use a hammer and chisel to break the adhesive and pull and remove the cap from the other stones. This will reveal the open core of the column, where you will feed your lighting wire.
2. Directionally drill under the column
For this step, uncover the buried first course of stone with a trenching shovel.
Then, tap a short bar, such as 1/2” iron rebar, inside and under the now exposed layer of the block, perpendicular to the column core. Twist and jiggle the bar as you tap to pull it out easily. Finally, remove the bar once there is a small cavity through which you can run your wires.
3. Feed your landscape lighting wire through the column
Feed your wire through the new small cavity into the column core.
Reach your hand, a grabber claw, or fish tape through the column and feed the wire. Be aware that you may be invading spiders’ territory inside the column.
4. Score a channel for your wire
Use your tape measure and carpenter’s pencil to mark where you’ll want to place the access points for your undercover lighting wires.
You must create a channel for every light you want to install. Use your angle grinder to grind a trough-type channel 1/2” by 1/2” for each light’s wire. The wire and cap need to lay flat, so make sure you create enough room in the channel to make that possible.
5. Place the lighting fixture
Use your trusty tape measure and pencil again to mark where you want the light fixture.
Follow the manufacturer’s instructions for installation, but typically you will need to drill 1” deep holes in your wall block, insert the masonry sleeves, and use a couple of screws to attach the fixture. Next, you should connect the wires for the fixture and then connect your lighting to the main power on your property.
You should test each fixture, ensuring they all work before you move to the last step.
6. Replace your cap
Finally, simply re-apply landscape adhesive to the top of your column, replace the cap, and ensure it dries straight. You now have beautifully hidden lighting on your hardscape columns.
Plan your project
Do you need help planning your paver installation? Download our free Project Planning Guide now and get all the details you need to install your new garden column or other beautiful hardscape.
Get our FREE Project Planning Guide
Tell us where to send it and we’ll email the backyard planning guide to you right away!
"*" indicates required fields


