

Get our FREE Project Planning Guide
"*" indicates required fields
Are you installing a walkway that will also experience some vehicular traffic? If so, you want to make it even more sturdy and long-lasting than a regular paver walking.
Here at Western Interlock, we are committed to providing you with high-quality hardscape and the resources you need to install them. In this blog post, we’re talking about the steps you should take to construct a paving stone walkway that can handle vehicular traffic.
Step 1: Walkway Design
Typically, walkways are built only for pedestrian traffic. They are usually very narrow. However, you should make this type of walkway wider—around eight feet wide is ideal. As you plan your project, make sure you are accounting for the heavier traffic your walkway will receive.
A walkway that is eight feet wide is still not able to withstand the heaviest vehicular traffic like an SUV, truck, or semi, but will be enough to withstand occasional tractors, UTV’s, and forklifts over the pavers.
Step 2: Walkway Layout
Once you have settled on the design, mark your layout to make sure you stay accurate throughout the project. Use white marking paint to carefully indicate where you will need to put your gravel base, and eventually your pavers.
In this step, you also should consider the slope of your area. Find your high spot on one end and calculate how much drainage your walkway will have. In our example, we had 2% drainage, which is ideal for the functionality of the walkway.
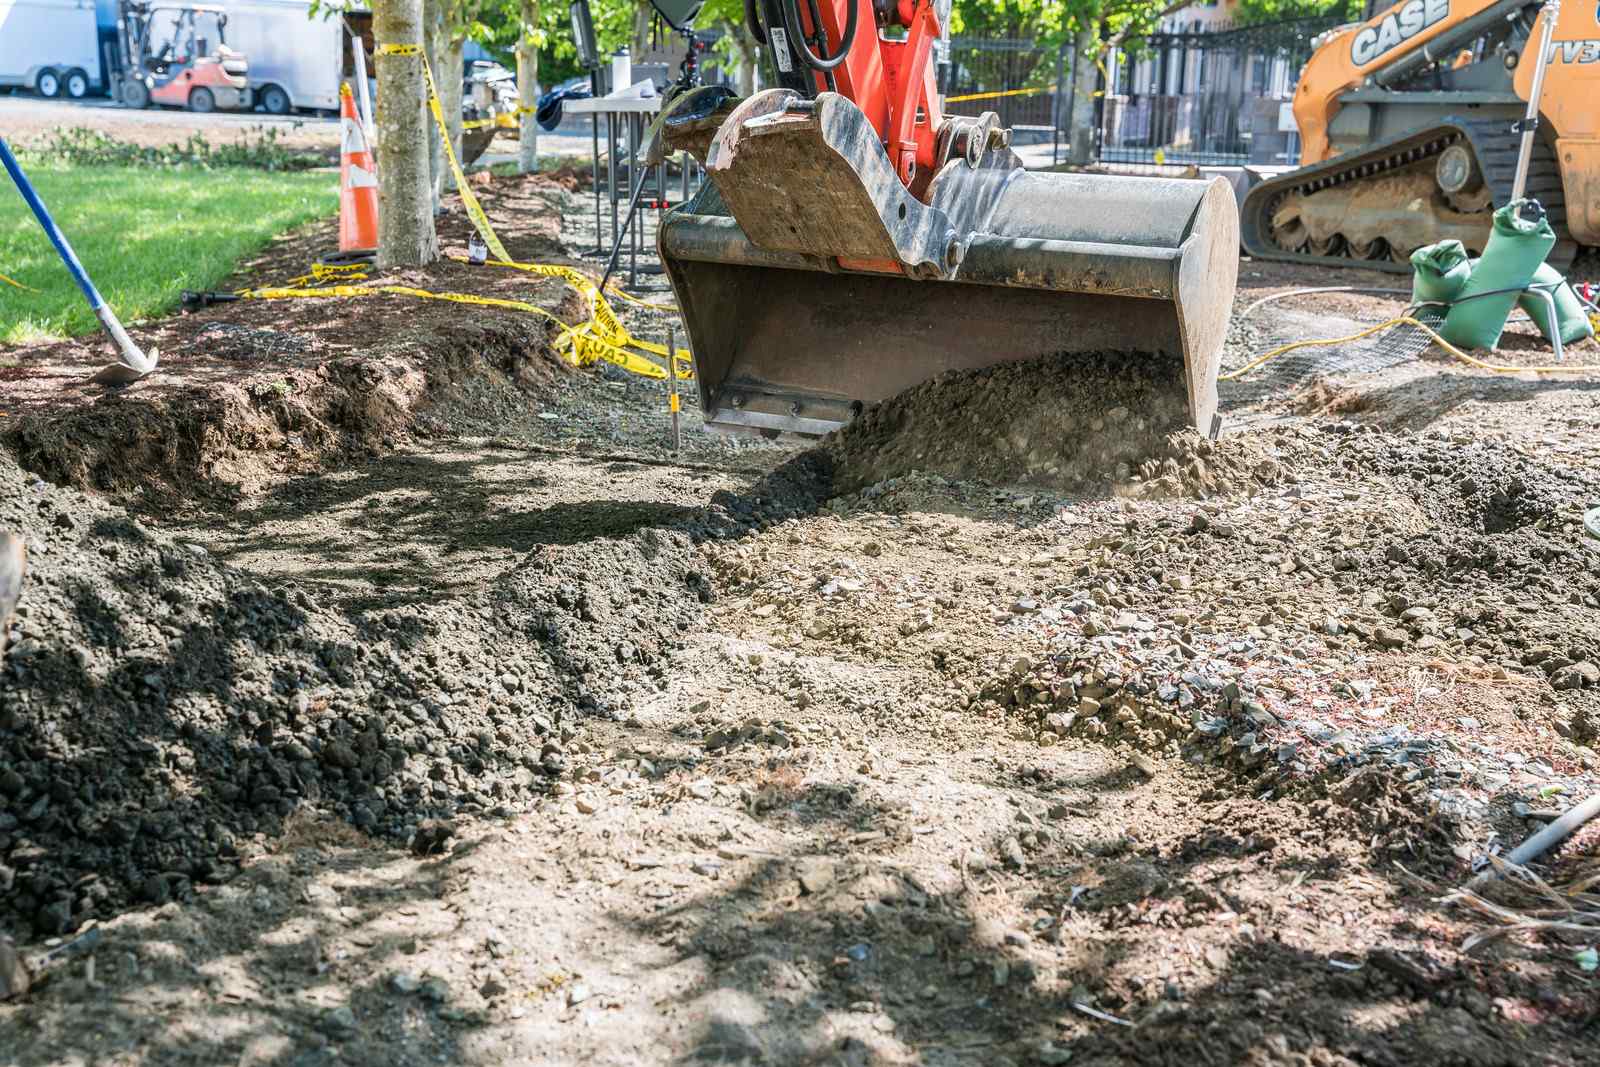
Step 3: Bedding Excavation
Now that the area is marked and the grade established, you can begin excavation. Excavate 14 inches overall from your desired finished grade. This will give you room for 10 inches of gravel, one inch of bedding material, and 3 ⅛ inches for your 80mm paving stone.
Before excavation, mark your utilities and avoid them. Hitting utilities can cause a lot of headache and delay in your project.
Step 4: Base Prep
Once the area is excavated, you can start to bring in your gravel base. You should do this in four phases: a woven geotextile, a compacted gravel base, geogrid, and more gravel base.
Add the geotextile and wrap it up onto the sides of your project. Then bring in about five inches of ¾ gravel, and compact it with a heavy-duty compactor. After it is compacted, bring in a biaxial geogrid. This helps strengthen and create interlock in a gravel system so that you have more longevity and performance. After that is installed, put in an additional layer of ¾ gravel and compact it to start working toward your finished grade.
Step 5: Bedding Prep
Now that your base is prepared, you can move on to prepping bedding for your pavers.
Typically, bedding consists of sand or crushed rock for a smooth foundation for your hardscape.
For our example project, we installed biaxial geogrid and then added rock on top for extra strength.
Once you have selected and laid your paver bedding, smooth it out so there are no uneven patches that will change your paver positions.
Step 6: Lay the Field
It’s finally time to start laying your paving stones. For a walkway to withstand vehicular traffic, we encourage selecting a thicker paving stone. You also should use a random layout or one that is varied in pattern to increase the stability of your finished walkway.
During this step, you may need to cut the edges of your pavers if they will curve or meander around any landscaping or plants.
Once you lay your initial paving stone pattern, lay your border stone. Border stones are a lovely accent piece that will also make installing edge restraint easier.
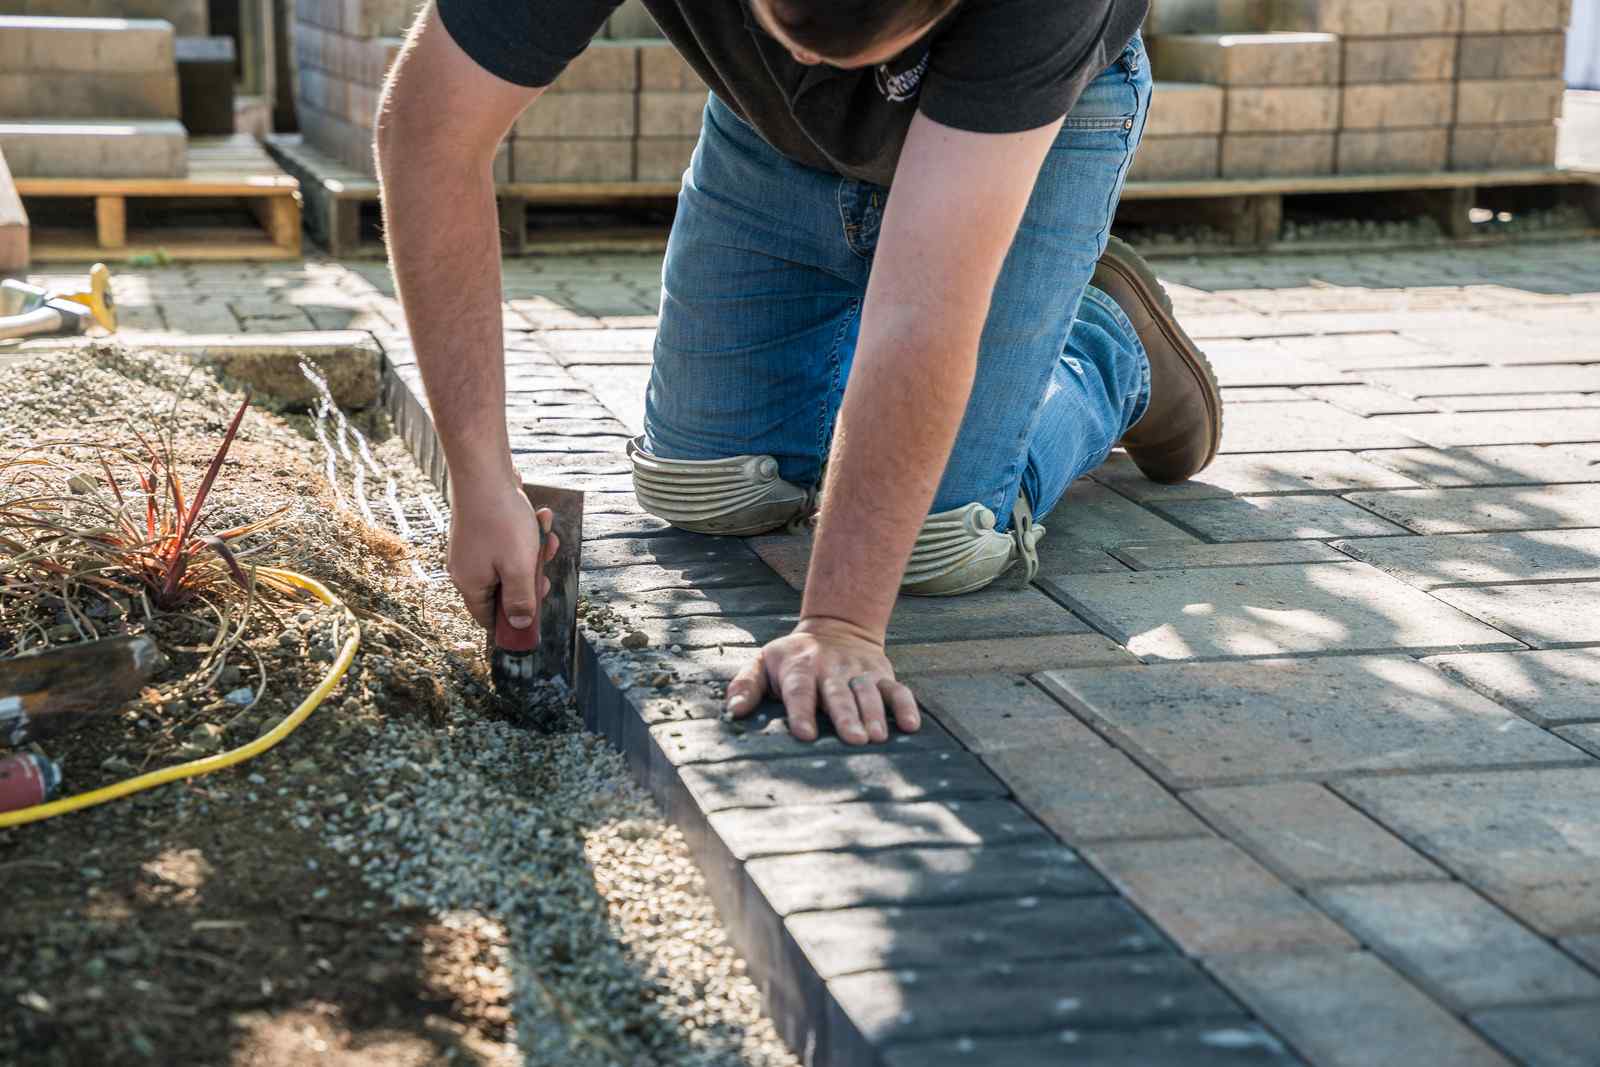
Step 7: Install Edge Restraint
After laying your paving stones and border stones, install an edge restraint. We recommend using PermaEdge, a modified concrete edge restraint that will last a long time and keep your hardscape secure.
No matter which edge restraint you use, scrape away your bedding material to expose your gravel base (and biaxial geogrid if you used it) so that your restraint will hold the pavers as tightly as possible.
Install your edge restraint about four inches wide around your border stones for the best-performing results.
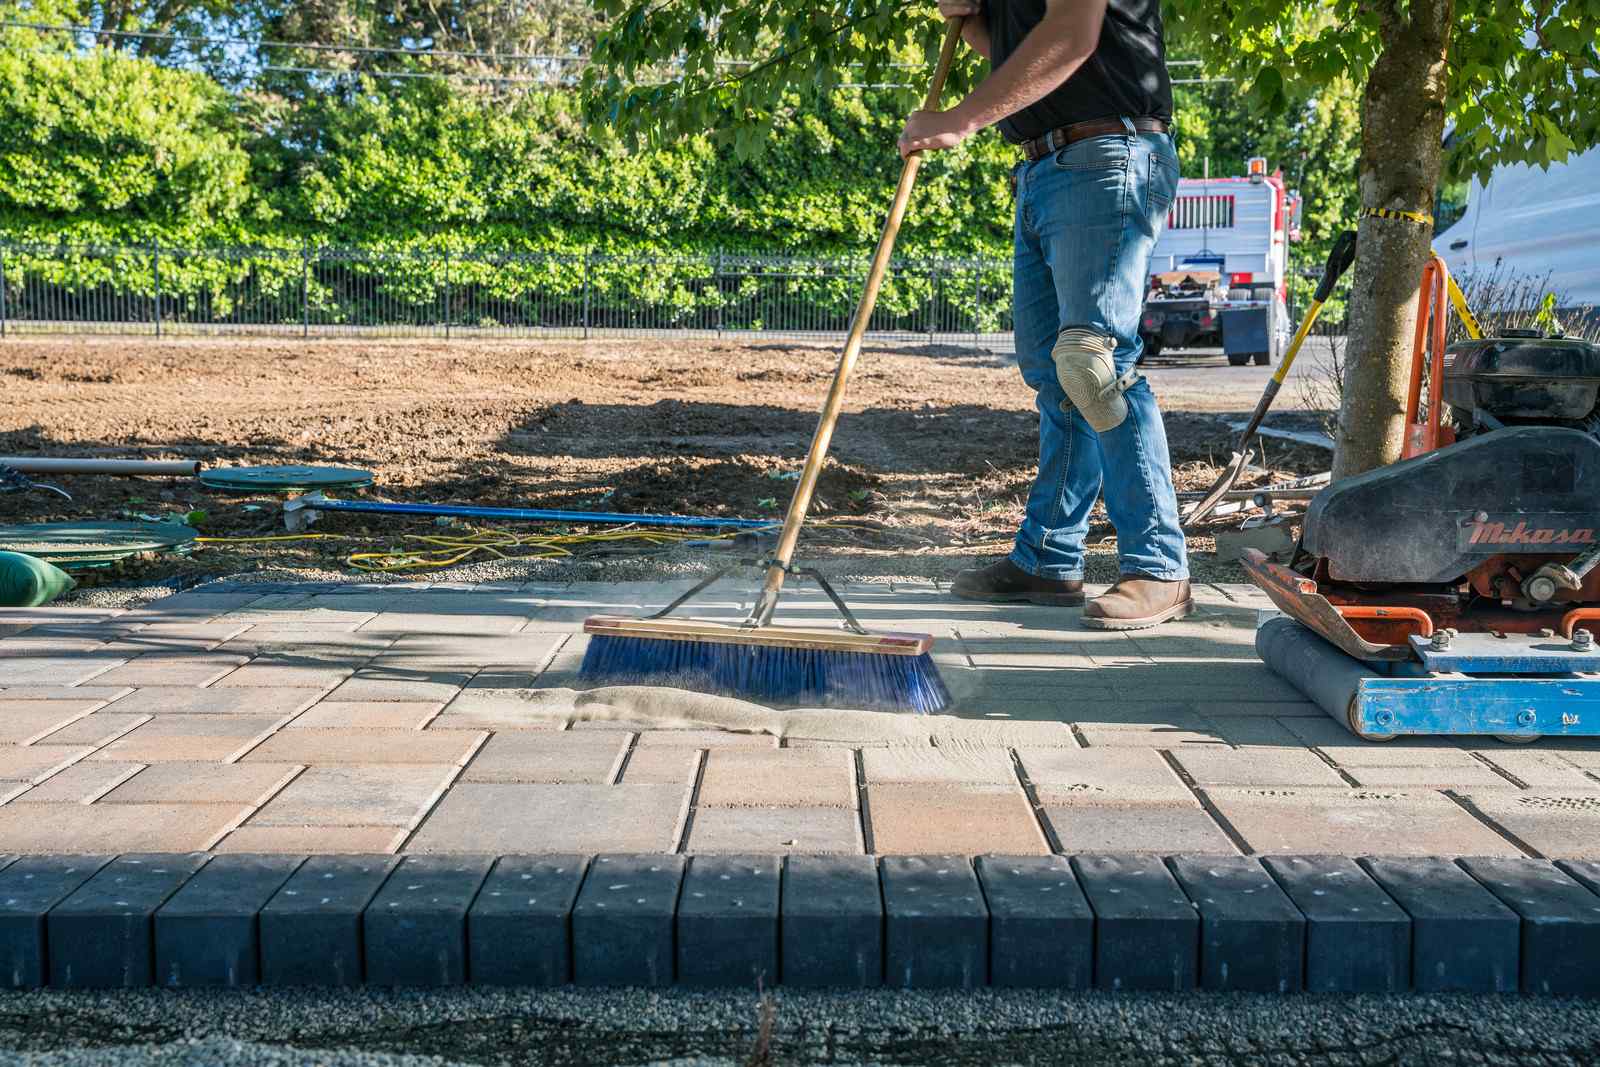
Step 8: Compact, Sand, Finish
It’s time for the final steps. You should always precompact, sweep in joint material, and then do a finish compaction. We always pre-compact to settle any of the initial imperfections and find out which pavers may be weak. If any of the pavers are going to crack or break, they usually will do that during pre-compaction—making it much easier to replace them before the project is completed.
Once pre-compaction is finished, sweep in your joint sand to the top of your paving stones and compact it a final time to settle it all down to the right height. The finished joint sand should be about ¼ inch below the top of your paving stones to be functional and aesthetically pleasing.
Once you’ve blown or swept off any excess sand, you have finished installing your brand-new hardscape walkway that will also hold up vehicular traffic.
Explore Additional Resources
If you want more tips for installing and maintaining a new hardscape, check out our DIY with WI page for access to tutorials, guides, and more. If you’re ready to get started today with installing your walkway, click here to check out our selection of paving stones. Our team will be happy to assist you with any questions or personalized advice you need for your project.
Get our FREE Project Planning Guide
Tell us where to send it and we’ll email the backyard planning guide to you right away!
"*" indicates required fields


