Get our FREE Project Planning Guide
"*" indicates required fields
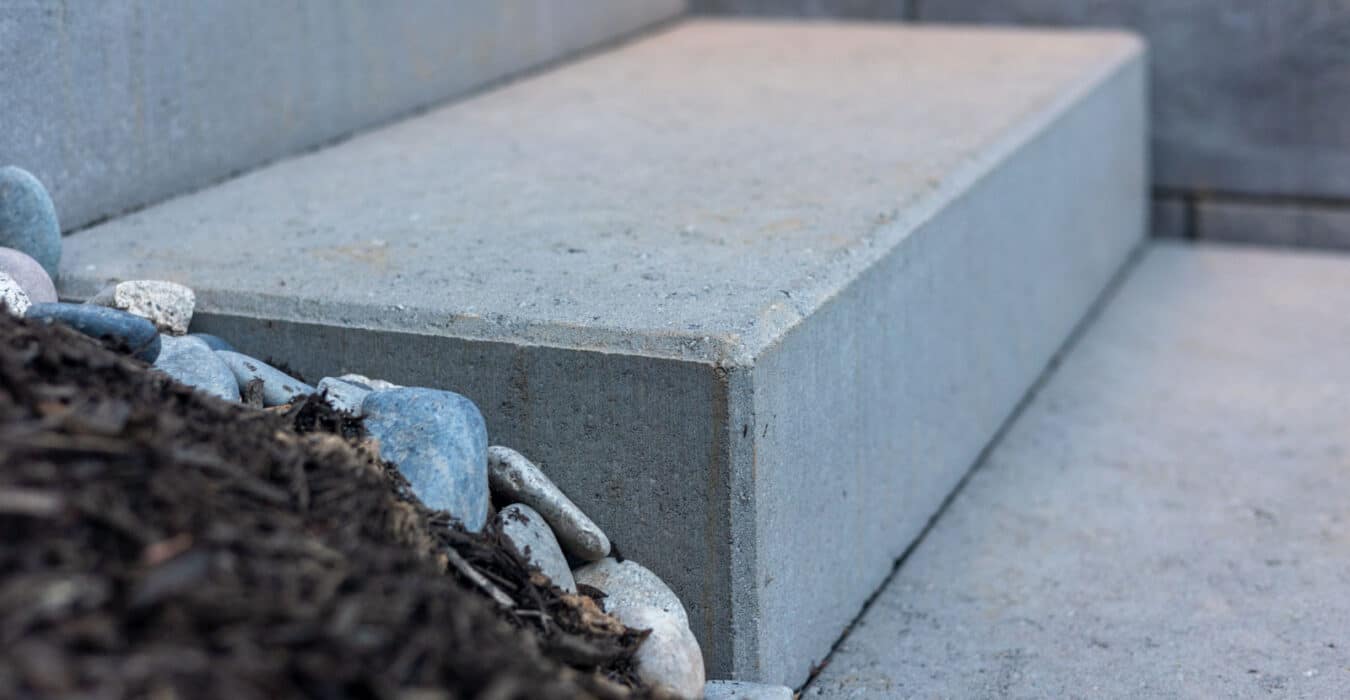
Are you tired of dealing with deteriorating front steps? Are you ready to upgrade the entrance and overall curb appeal of your home? If you don’t love unattractive concrete steps but also don’t want to go through the process of stacking small blocks, we have the solution for you: MurataTM Step Block.
In this blog post, you’ll learn about the benefits of precast stone steps and how to install them so that you can transform the entrance to your home.
Why Use Precast Concrete Steps?
If you are looking for steps that are both attractive and functional, precast concrete steps offer both. They come in various sizes and finishes to fit exactly the style you are looking for, and you can easily apply them without having to cut each stone. Precast concrete steps offer a clean and quick upgrade to your home.

How to Install Precast Concrete Steps
Step 1: Design Your Step
To begin laying your precast concrete blocks, start with the design and layout. You should determine the height at which you want them to finish, and select what type of precast block you will use (such as Murata Step Block). Next, mark the width of the step using the block length.
Step 2: Set Your Step Grade and Excavate for the Base
After you have marked the design and layout, you need to excavate the base according to the depth requirements for the project. You should consider the factors of depth (e.g. 4”) and height (e.g. 8”). Make sure you maintain a 6.5” buffer below the capstone (e.g., excavate 21” below the top of the capstone).
Step 3: Lay a Gravel Base
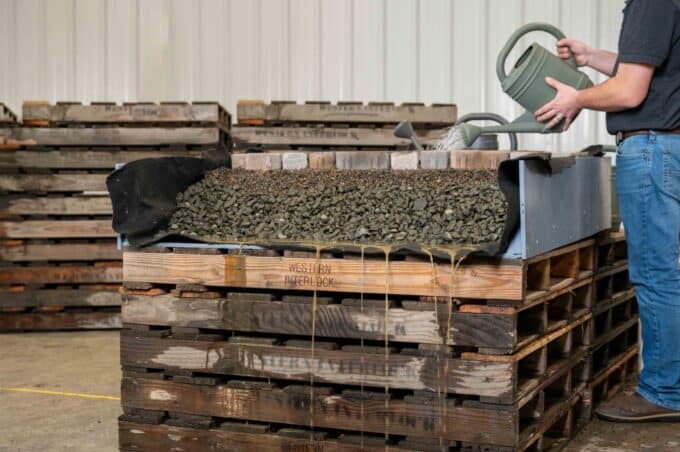
Next, bring in 4” of gravel to lay for your base. You should add the gravel in 2” lifts, and use your hand tamp so that it gets properly compacted.
Step 4: Set the Base Step Block
Now you are ready to set the base step block. Our Murata Step Blocks make installation easy. Use a level to make sure each block is level in every direction, and fill the gaps behind each block with more gravel.
Step 5: Stack the Step Blocks
Now, lay the precast concrete blocks and attach them with flexible adhesive, such as Sure Bond 20. If you have empty places from excavation, you can fill in with landscaping to complete the look.

Try the Murata Step Block
We keep mentioning the Murata Step Block—what exactly is it?
This paver is the newest member of the Murata family of blocks from Western Interlock, our family-owned and operated paving stone manufacturing company in Salem, Oregon. You may be familiar with the other blocks in the Murata family, including Garden Wall Blocks, Retaining Wall Blocks, and Stone Planters.
The Murata Step Block comes in two sizes, 16×36” (306 lbs) and 16×48” (398 lbs). It is also available in two colors, charcoal and pewter.
The Murata Step Block is heavy, so we recommend setting these blocks with at least a two-man clamp or slung from a piece of machinery. Click here to learn more about the new Murata Step Block and request a quote on our website.

Plan the Perfect Precast Stone Steps
For a step-by-step guide to planning your project, check out our free Project Planning Guide. It’s the ideal tool for planning out the upgrade of your front steps.
Get our FREE Project Planning Guide
Tell us where to send it and we’ll email the backyard planning guide to you right away!
"*" indicates required fields


