How to Build a Raised Paver Patio
Building a raised paver patio is an excellent option for homeowners who want to expand or raise their outdoor entertainment area and create a cozy, relaxing spot. In this blog […]

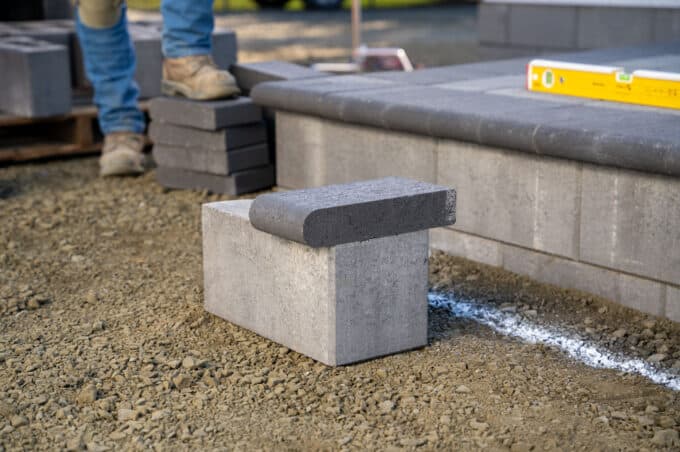
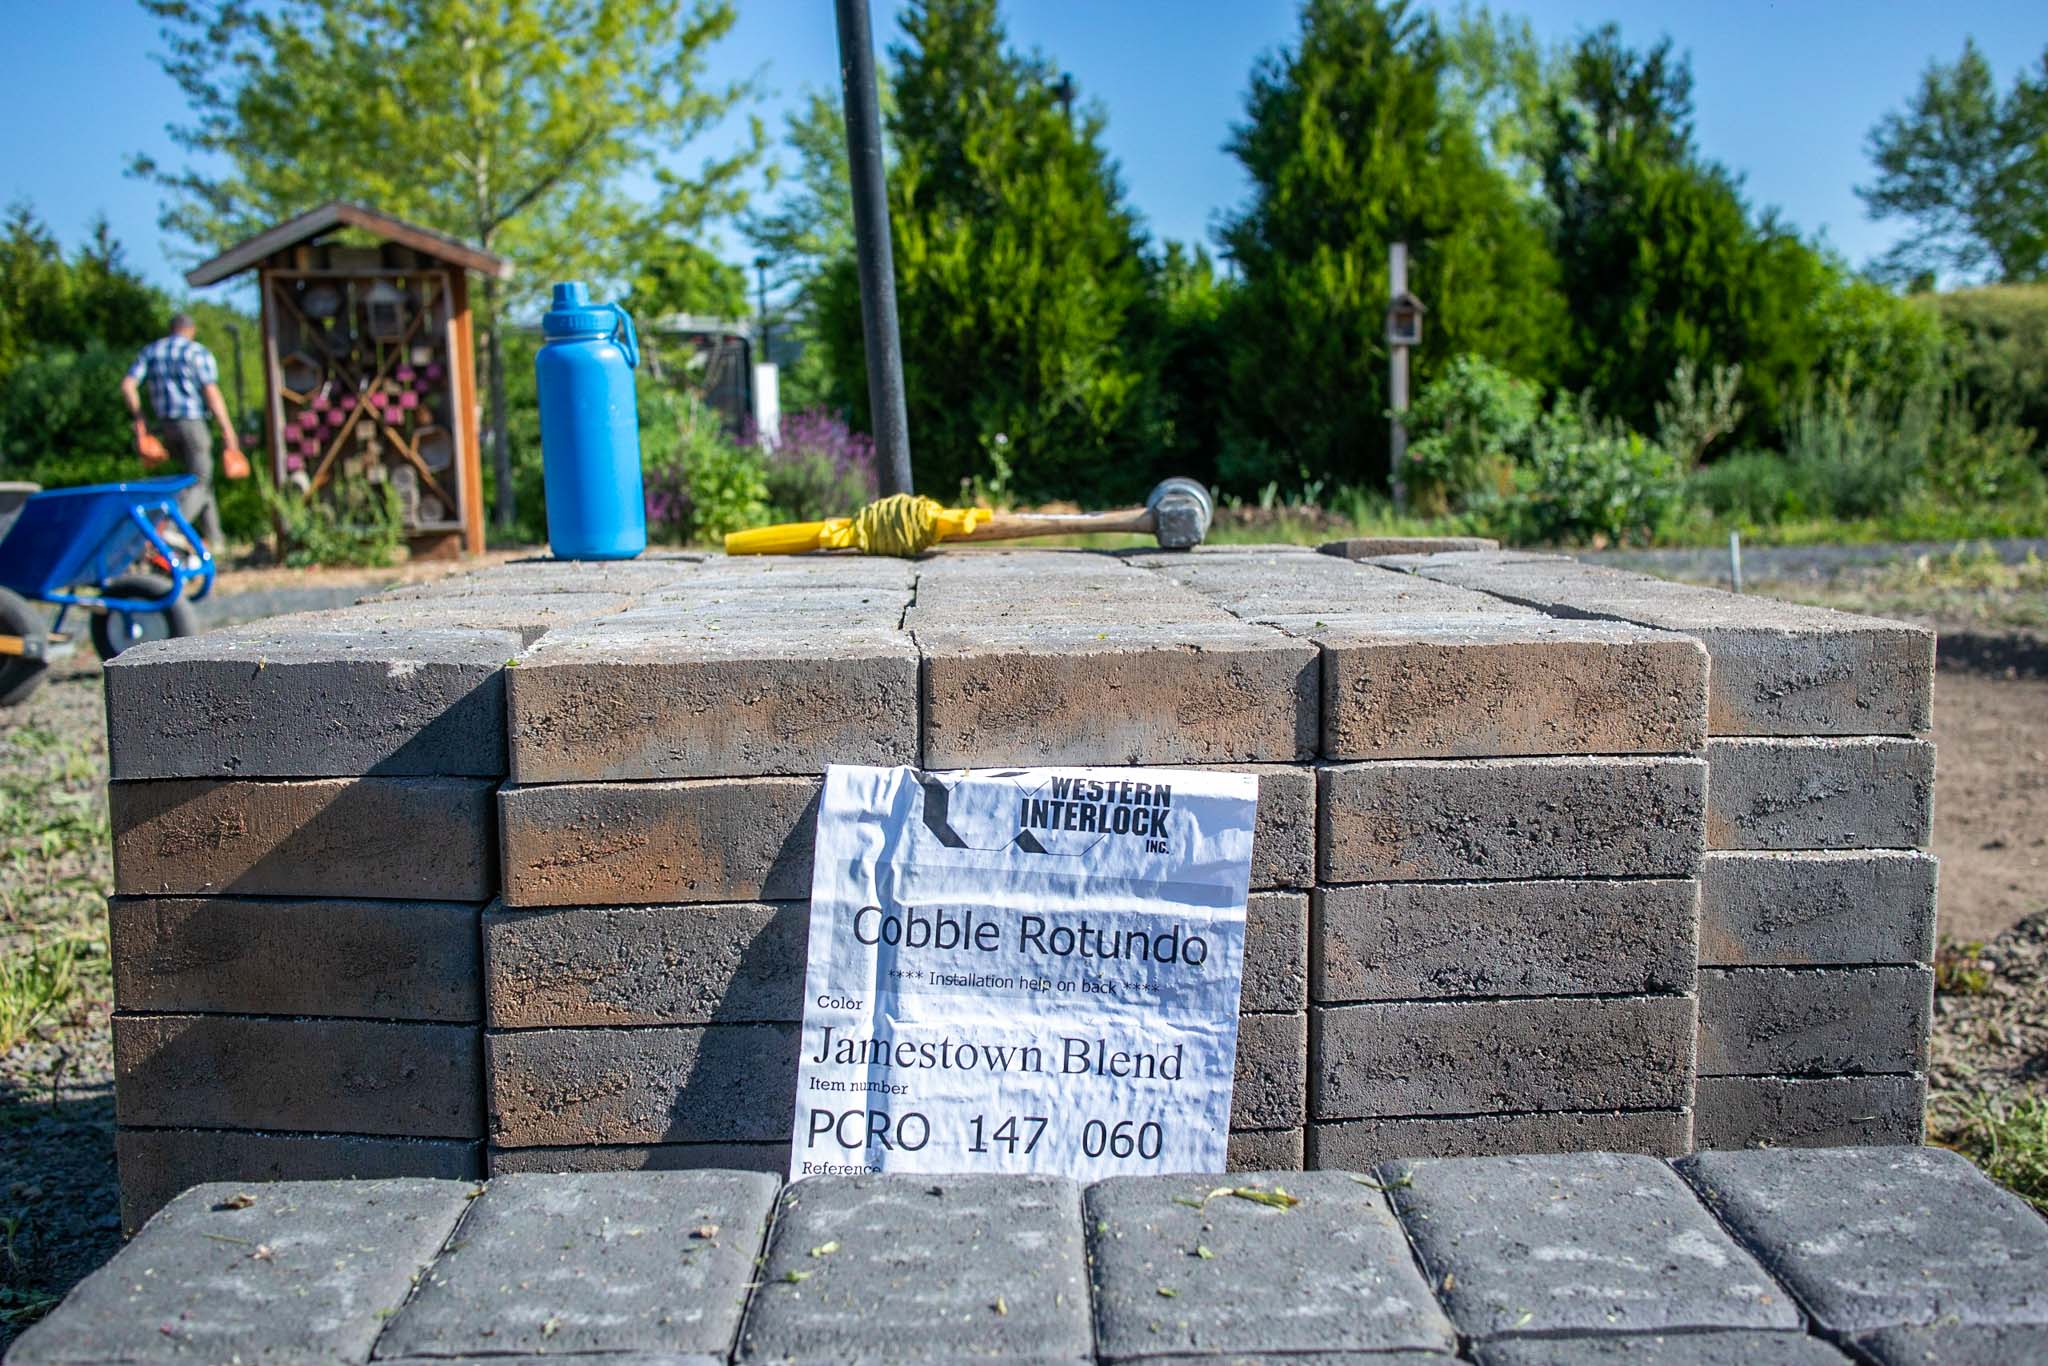
In this example, we’ll be using our Cobble Rotundo Stone, but the basic premise applies to our Roca Rotundo and Alpine Rotundo stones as well. The only exception is that when building a square patio, you start from a corner. When building a circular patio, you start from the center.
By following our instructions below, along with the instructions on the back of your pallet tag, you’ll end up with a perfectly round and sturdy circular patio.
In this video, Colin shows you the step-by-step process you’ll follow to build a perfectly round circular patio. He’ll cover everything from layout and excavation to laying the stones. Let’s get started.
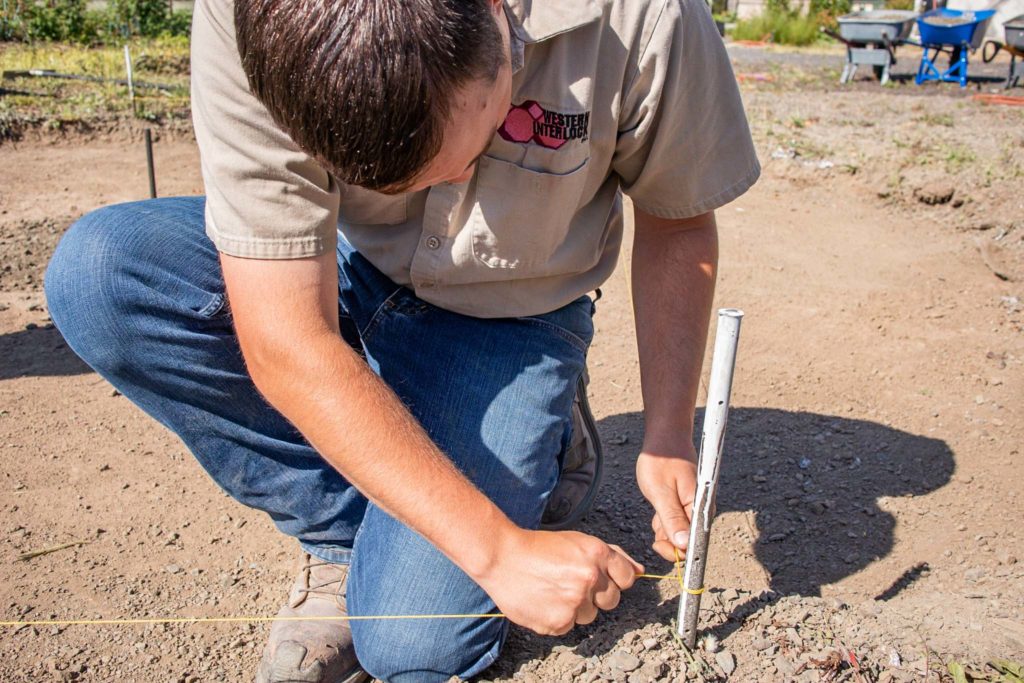
First things first, establish where you want the circle. Measure it out, mark the area, and hammer in your center stake. Make sure to mark out an additional 6” beyond your circle to give yourself a margin for error and allow space for your edge restraint.
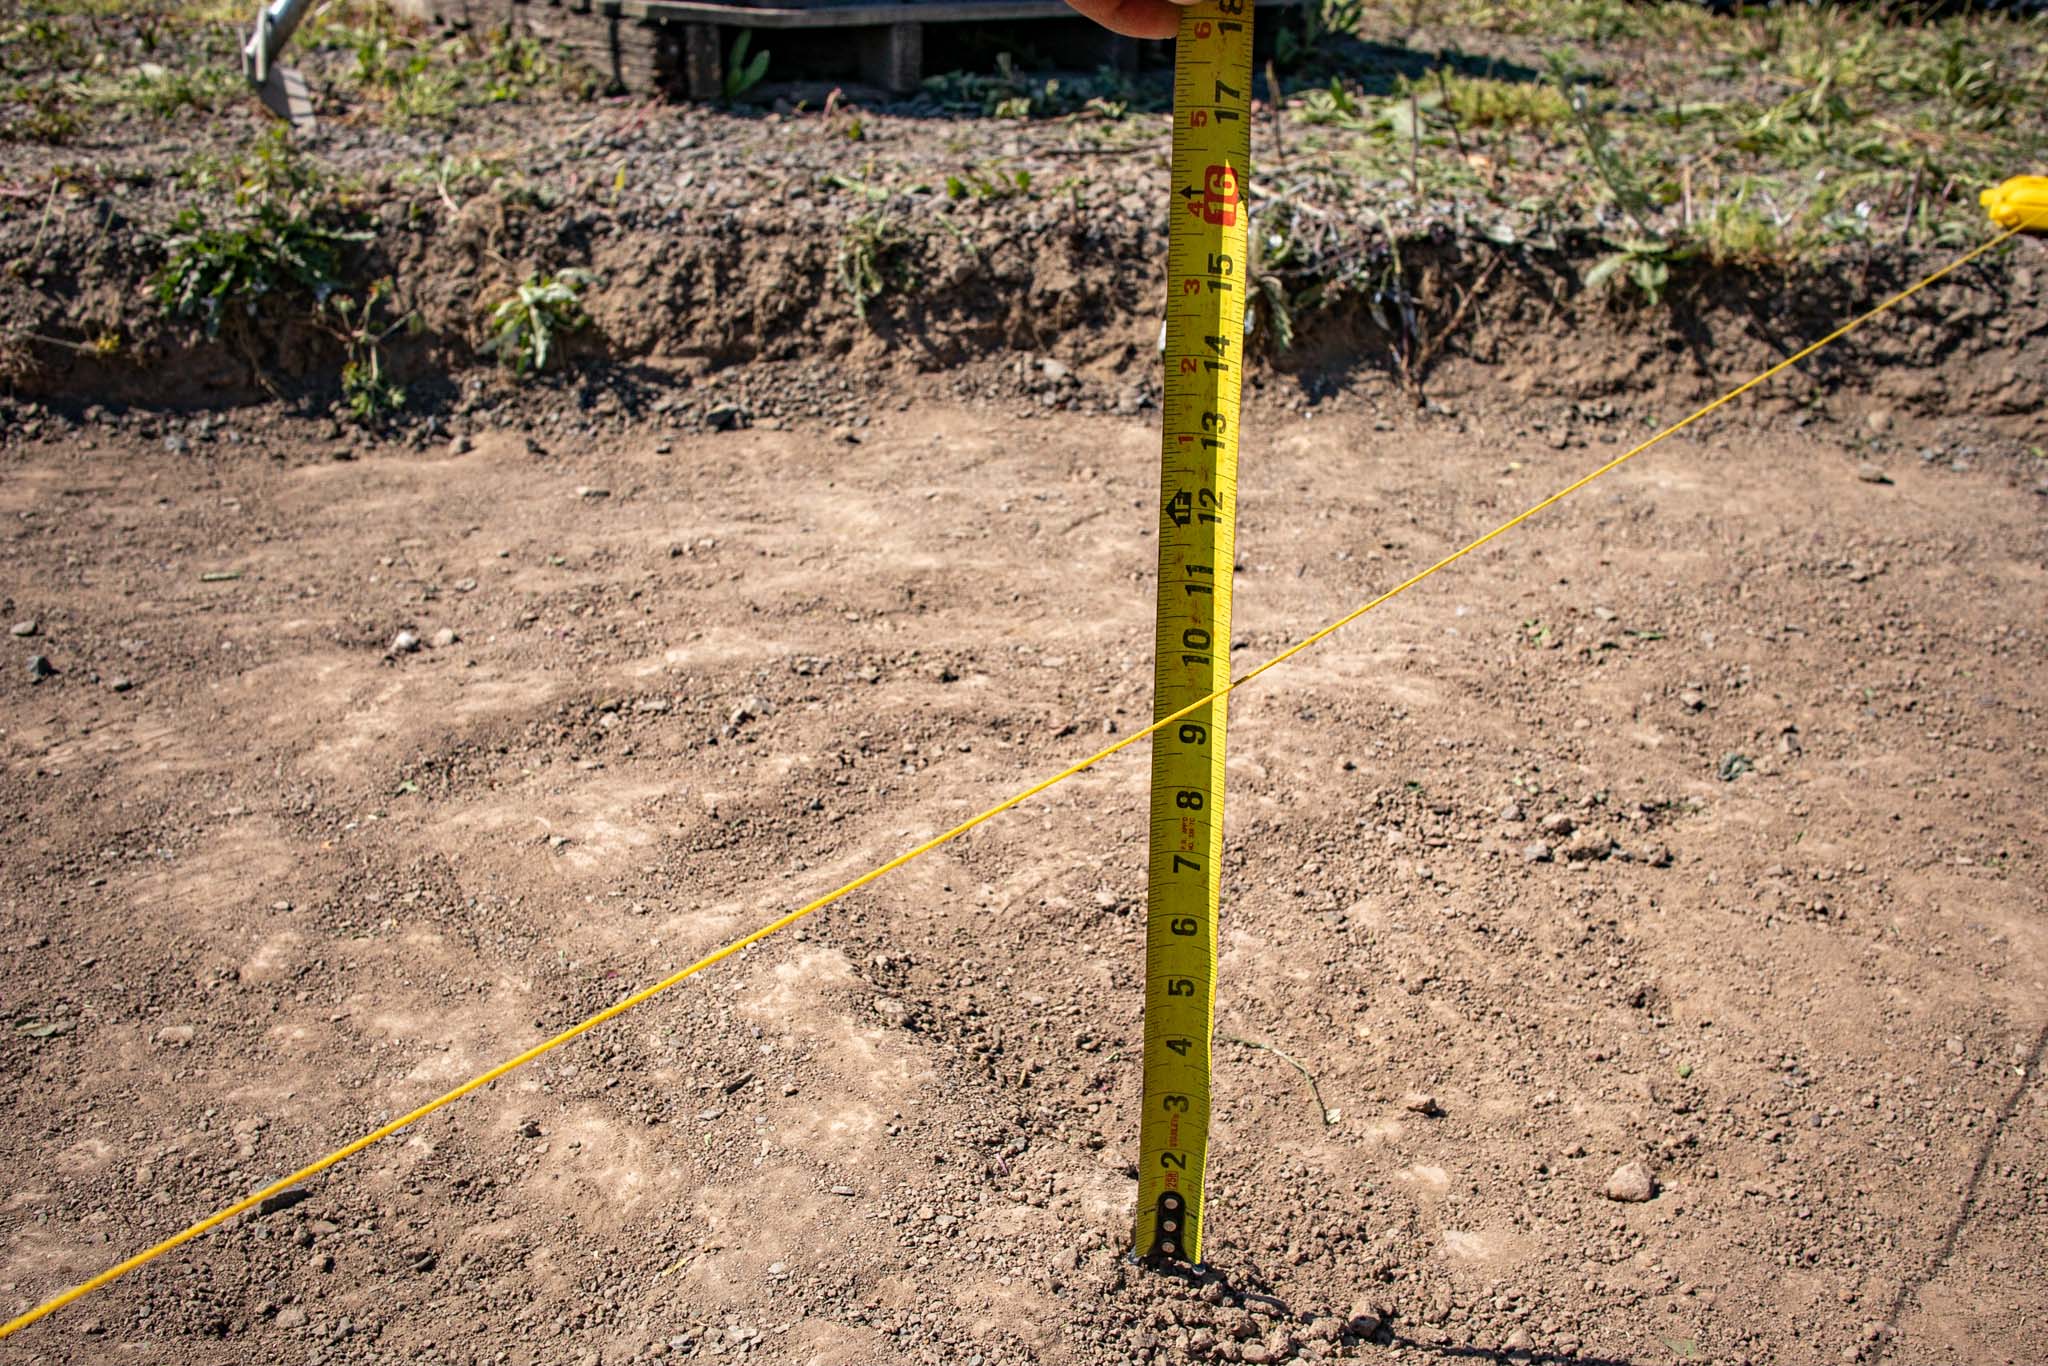
After you’ve marked your layout, you’ll need to excavate. We rented a small excavator, but you can absolutely use a shovel or pick if you’d rather.
Dig out your outermost marked area 8–10” deep. While the depth of your excavation is dependent on your desired overall height and the depth of your embedment, plan for at least 4” of compacted 3/4” minus gravel and some breathing room.
As with any paver project, it’s okay if your dirt has divots or rocks. As long as it’s generally level, you’re golden. We’ll show you how to achieve a perfectly level environment for your stones using gravel and concrete sand below.
Before any digging or excavation, call 811 to check for underground utilities.

Next, you’ll set the base. The first and most important step is to lay down geotextile. The reason we recommend laying geotextile is to provide a more solid base while keeping the dirt from migrating into the gravel base.
Time spent setting your base is time-well-spent. For most patio projects, you’ll spend the majority of your time setting a solid base so that laying stones is as simple and easy as possible.
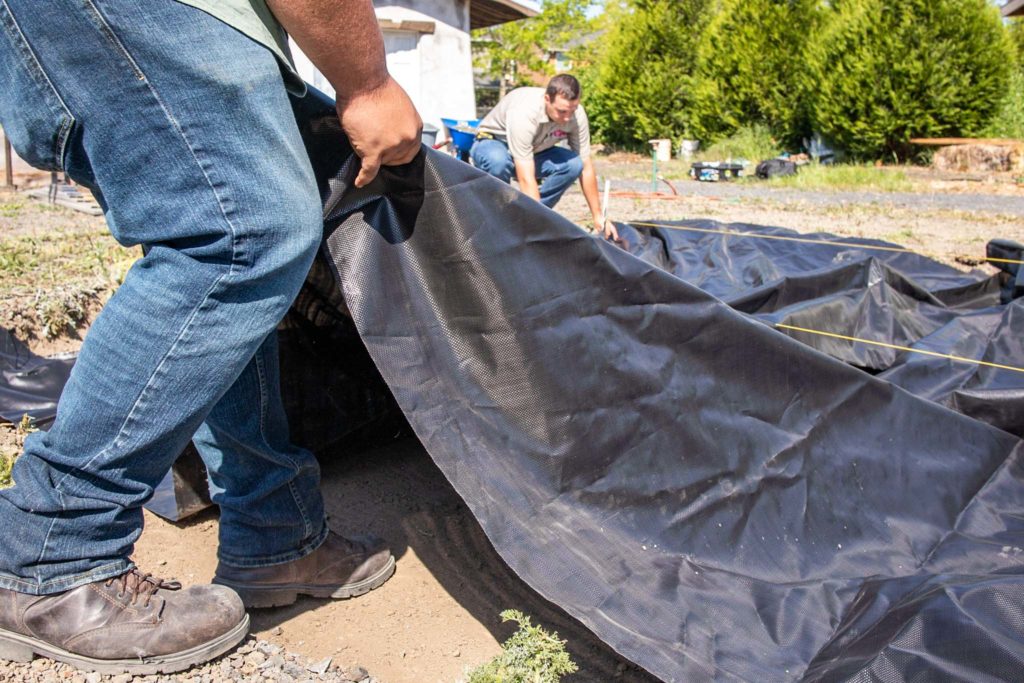
Once you’ve laid the geotextile, you’ll want to spread the 3/4” minus gravel. You’ll need quite a bit of it so you might consider bringing a few friends along to help!
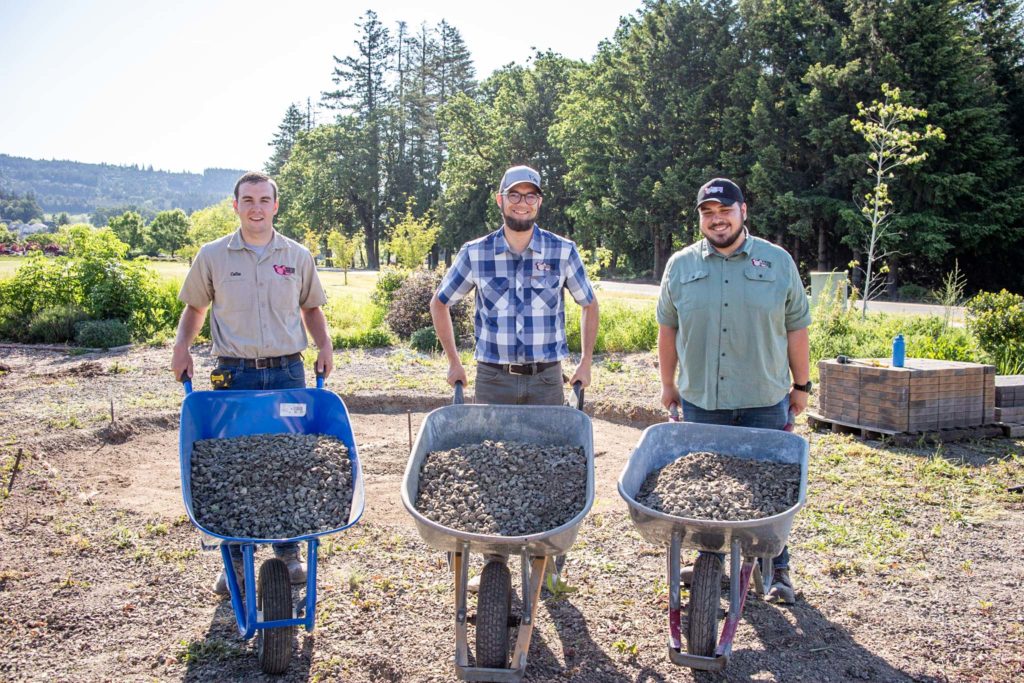
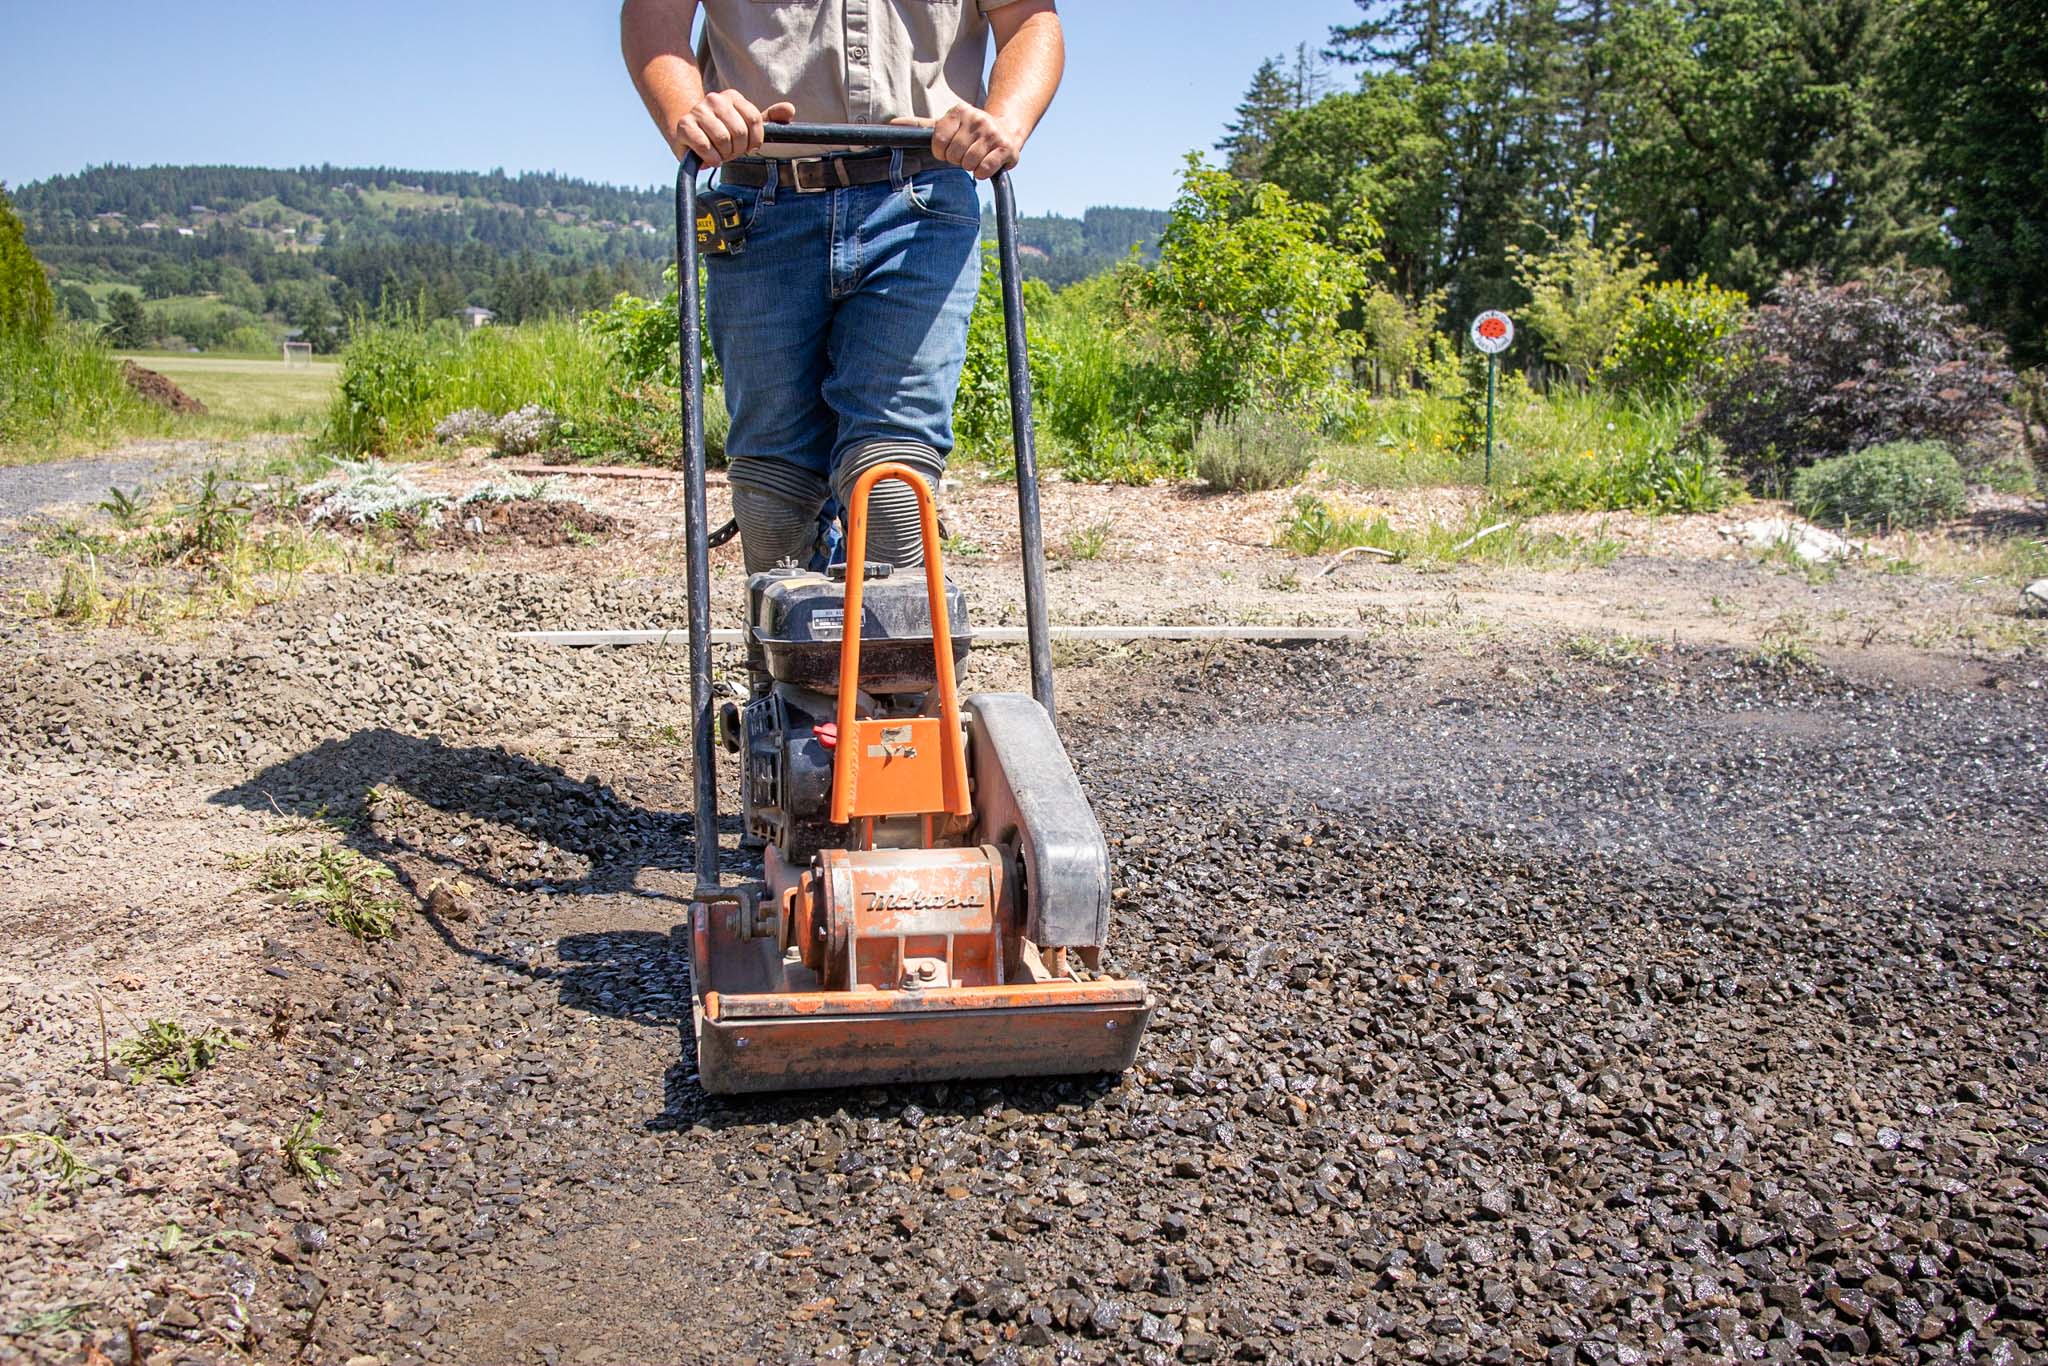
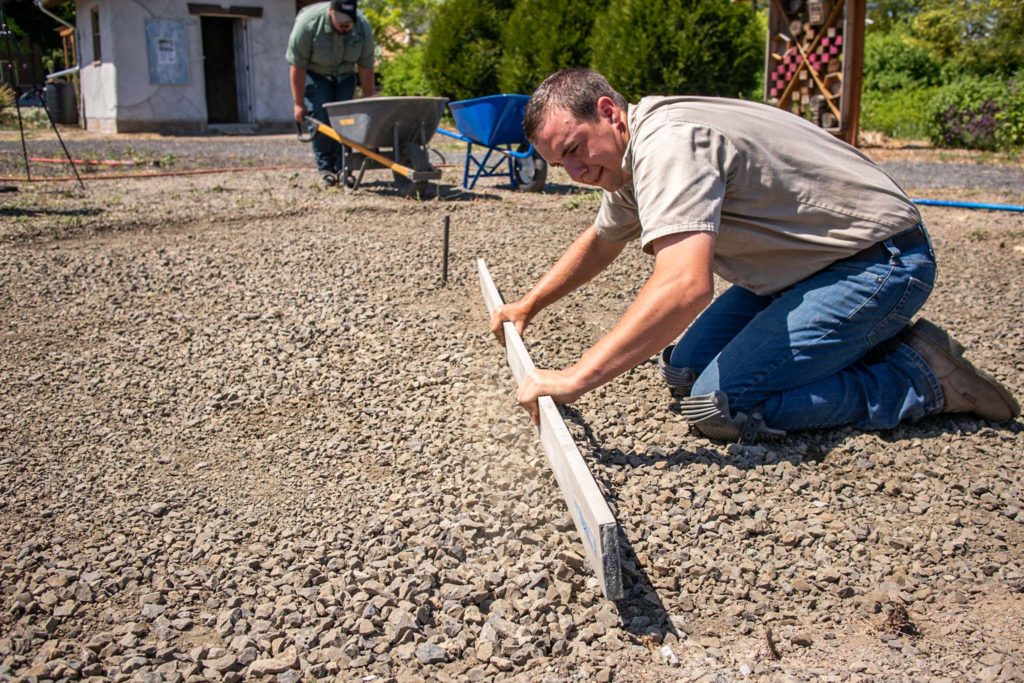
Spread your gravel in 2” lifts and compact it after each lift using a plate compactor. We recommend a 4″ gravel base for pedestrian applications. You’ll spread the gravel using a rake to get it mostly level, then scrape a straight board across it to smooth out any uneven areas.
Before moving on, your gravel base needs to be flat, without any bellies or rises of more than 1/8″. Any imperfections of more than this will be noticeable in the final product.
If you’re wondering what size of plate compactor you’ll need, our general rule of thumb is that a plate compactor can compact as many inches of gravel as it takes people to pick it up. In other words, if you want to compact in 2” lifts, you’ll want a plate compactor that two people can lift comfortably.

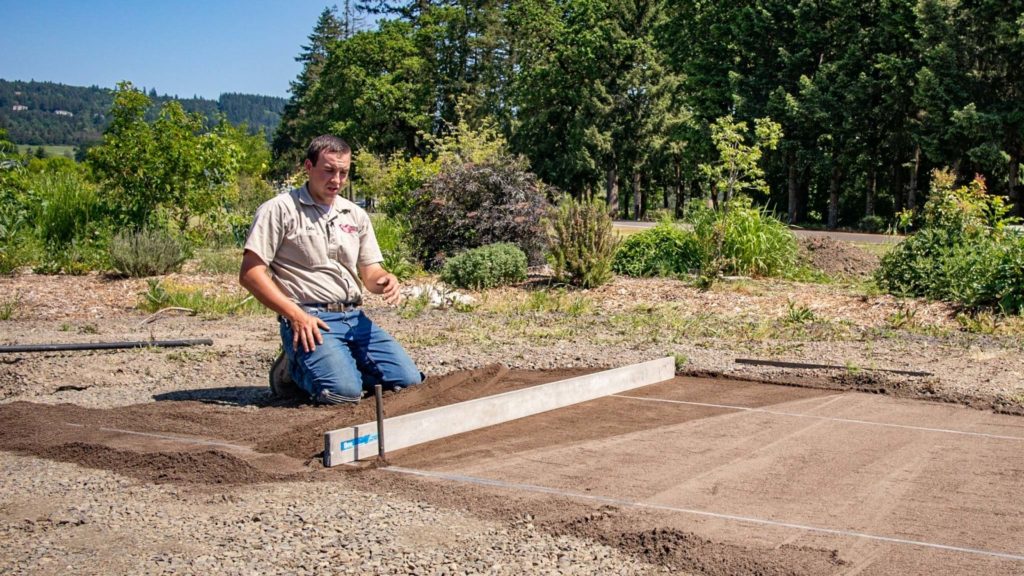
After your gravel is spread, leveled, and compacted, you’ll want to screed the sand. The sand layer you’re spreading creates a stable and secure bedding layer.
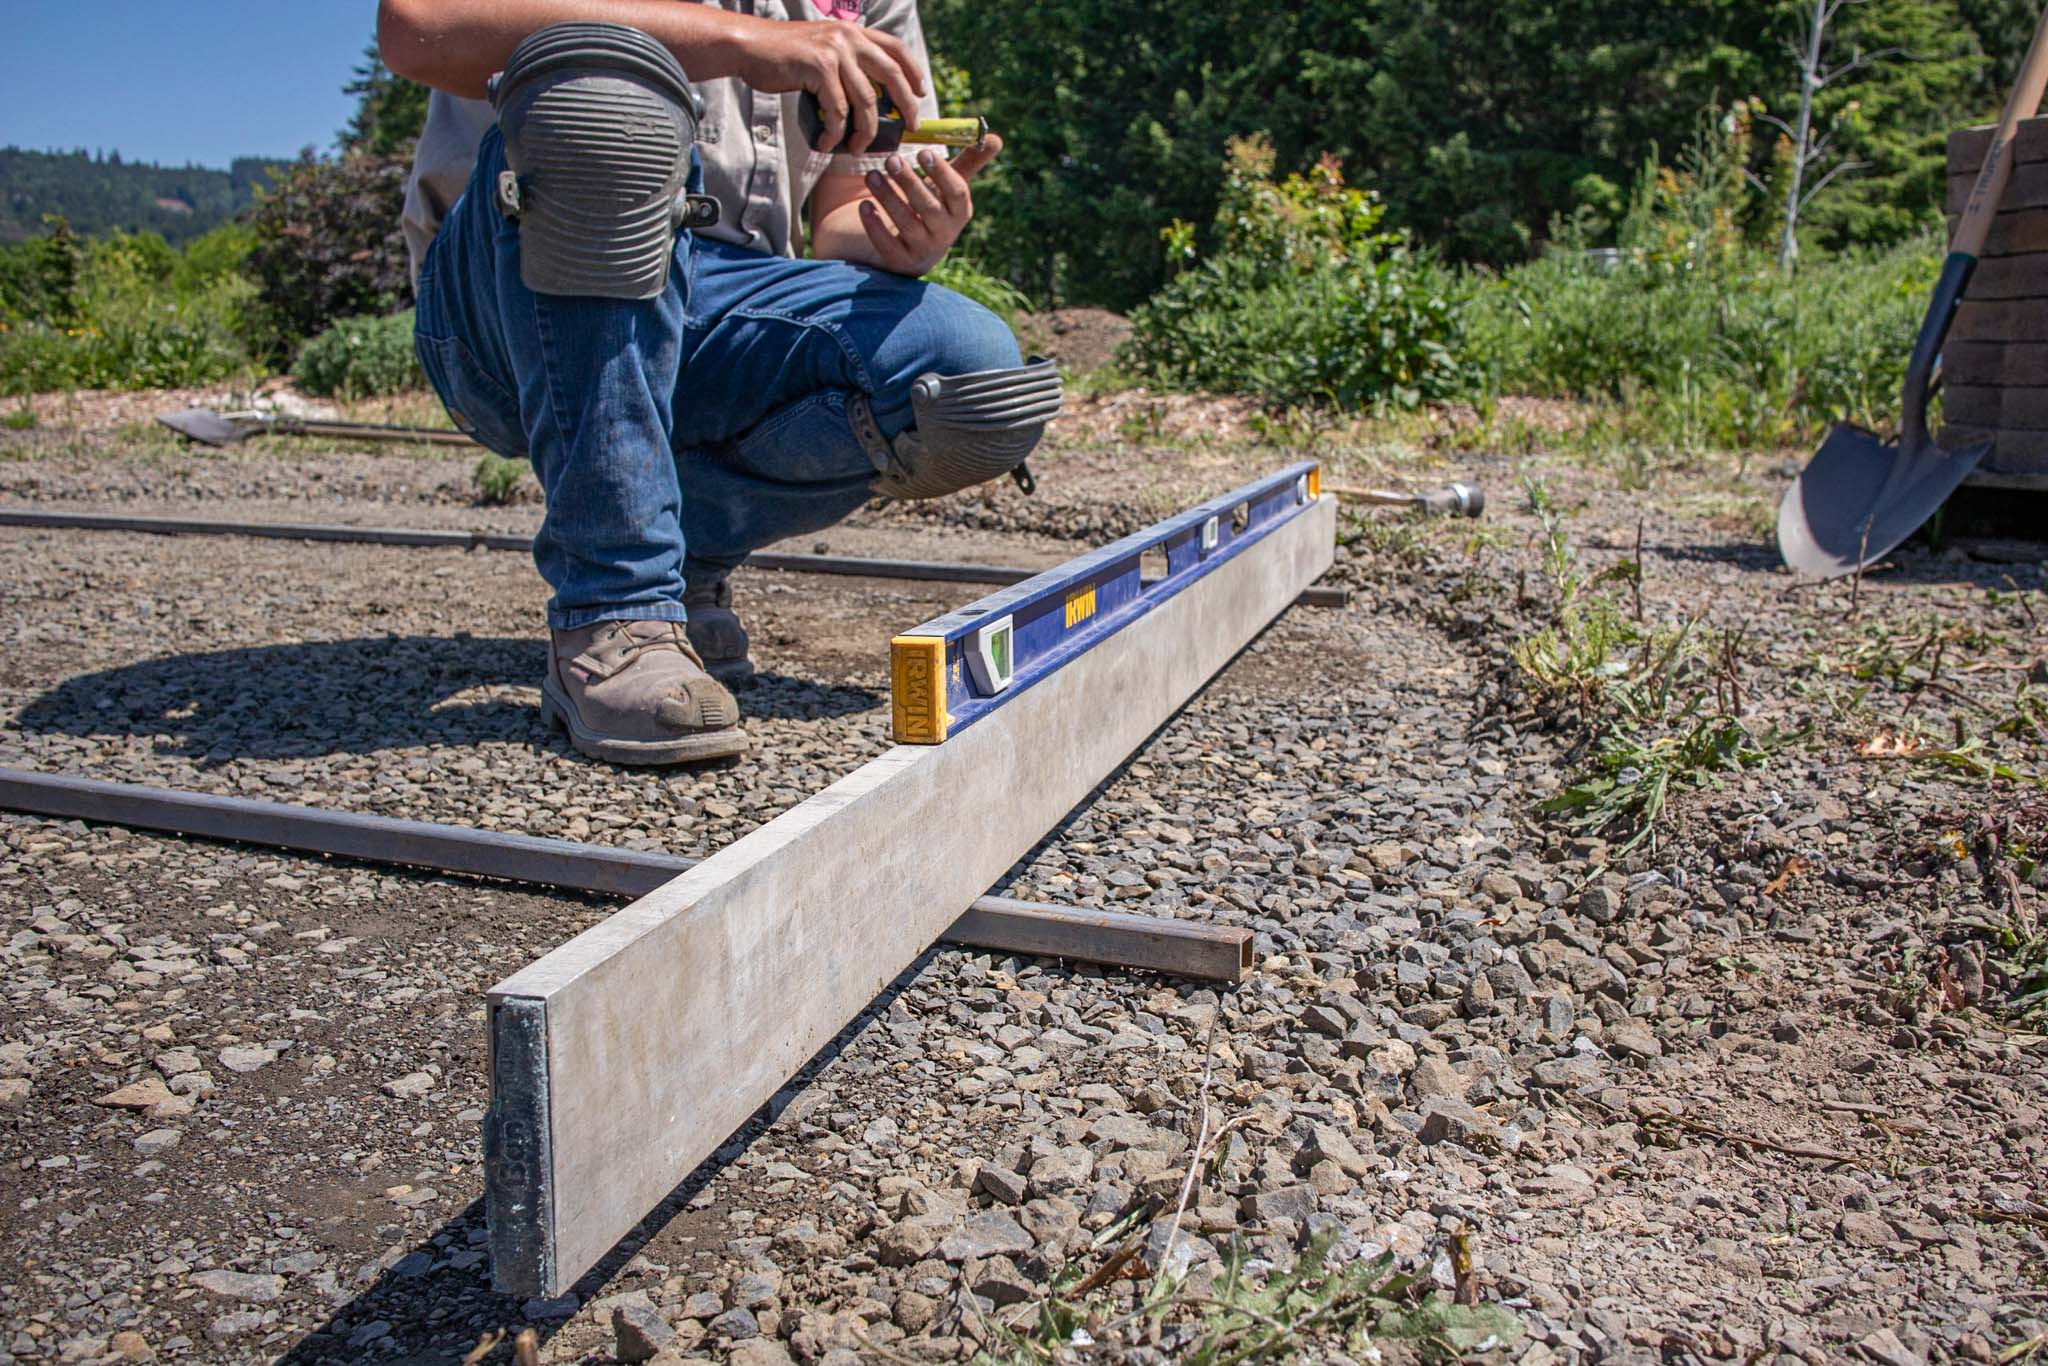
First, you’ll want to lay 1” outside diameter square (or round) metal tubing down the middle of your circle and on each side of the center stake. Metal tubing is important because plastic pipe will follow any subtle contours of the gravel, while metal tubing will bridge across making a more level final surface.
Second, make sure the tubing is level. This is the base your paving stones will sit on, so it’s important that your sand is both level and smooth.
Do not compact the sand. You want it to stay moldable so your stones settle firmly into the bedding you’ve prepared.

Using a long, straight board (or something similar), pull the sand across your metal rails. It should be smooth and level. You can see below that because our circle patio was so large, we spread one side at a time.
You’ll have to walk on your beautiful sand to pull the rails out. But don’t worry. Simply pull each rail out and throw new sand back in the voids. Use the back of a shop broom or another flat (and light) tool to make it level again.
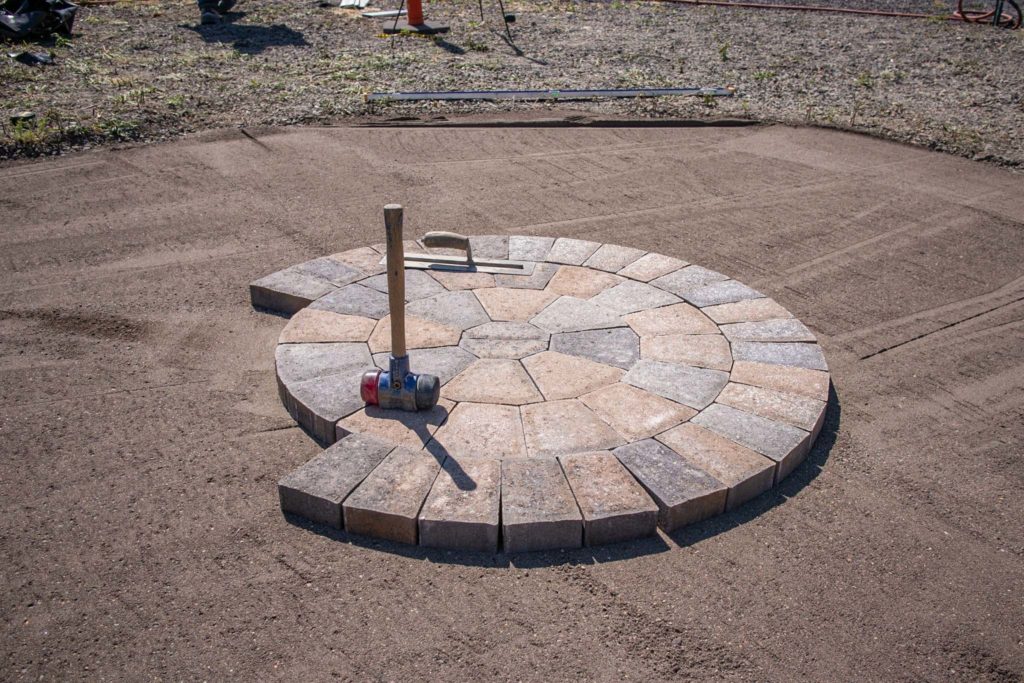
Finally, it’s time to start laying your stones. Since we’re building a circle patio, it’s important to start in the center with the center stones. So pull your center stake and start laying.
You’ll have to walk on the leveled sand at the beginning, so just be sure to walk in a straight line or lay down a board or piece of plywood to walk on. You’ll see below that we used the same board to walk on that we used to screed the sand. Fill in the sand as you go just like you filled in voids left from the screed rails.
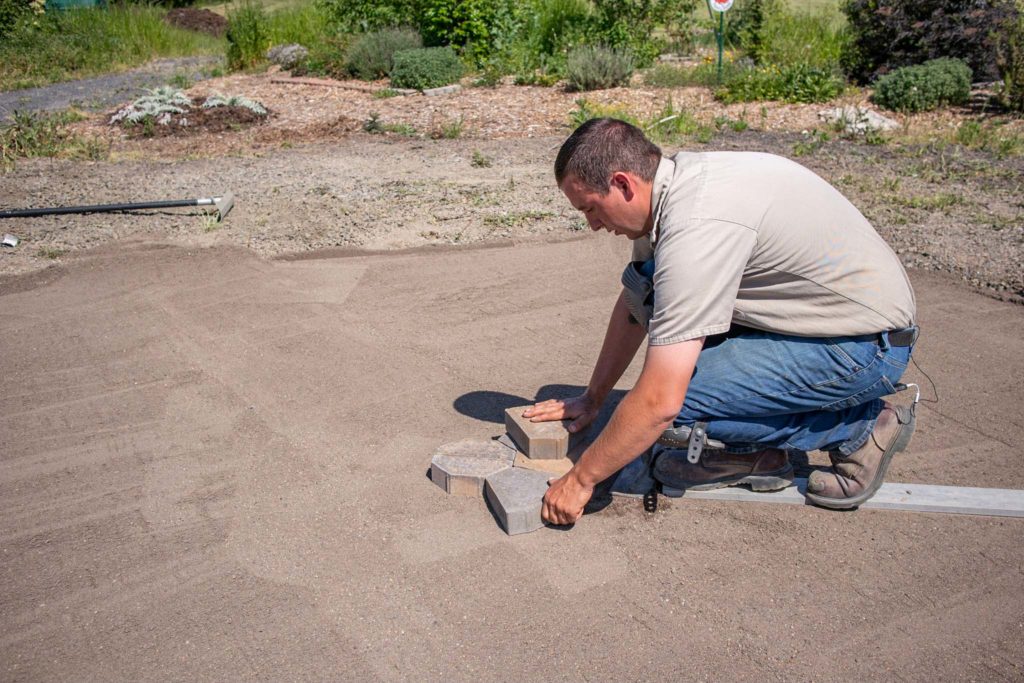
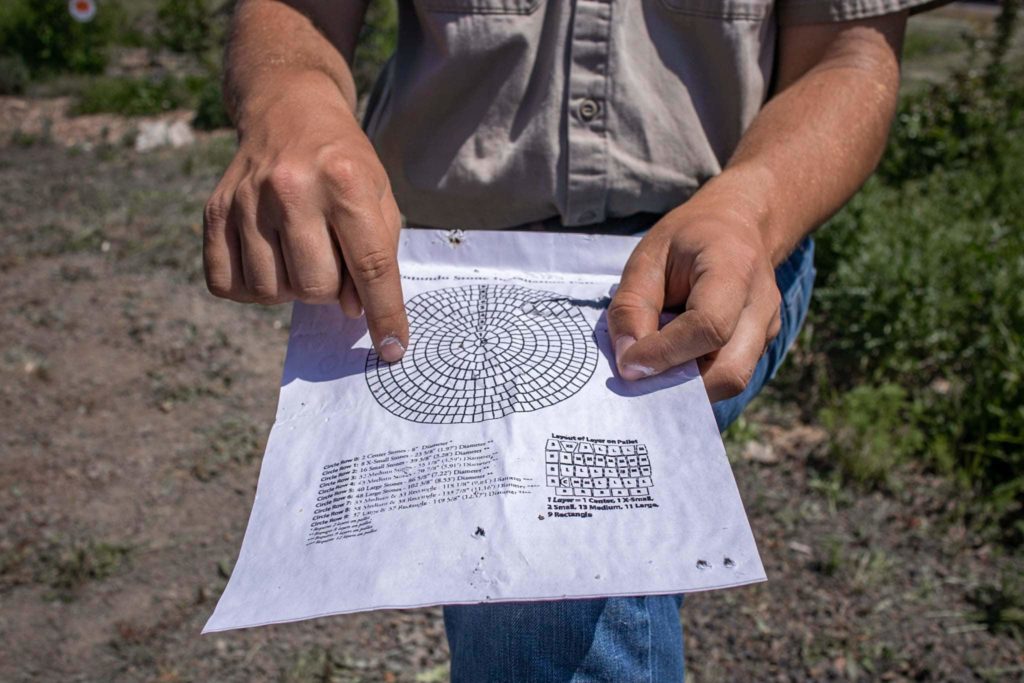
Lay your stones loosely and in-order according to the instructions on the back of the pallet tag. After you lay each row, you may need to adjust the stones to make sure the stones are placed properly. Note that the lines will not line up row-to-row. While it’s not important to maintain offset lines, it is important to follow the instructions as accurately as possible so that you don’t have to pull up your patio or make unnecessary cuts at the end.
The instructions will come on the back of your pallet tag, but you can also follow these links to find instructions for Cobble Rotundo Stone and Alpine Rotundo Stone.
It won’t take long before your project becomes a beautiful paving stone patio. Continue laying stones until you reach your desired diameter. It’s important to know that you will never lay the entire pallet because, due to mold limitations, there are always extra stones in each kit.
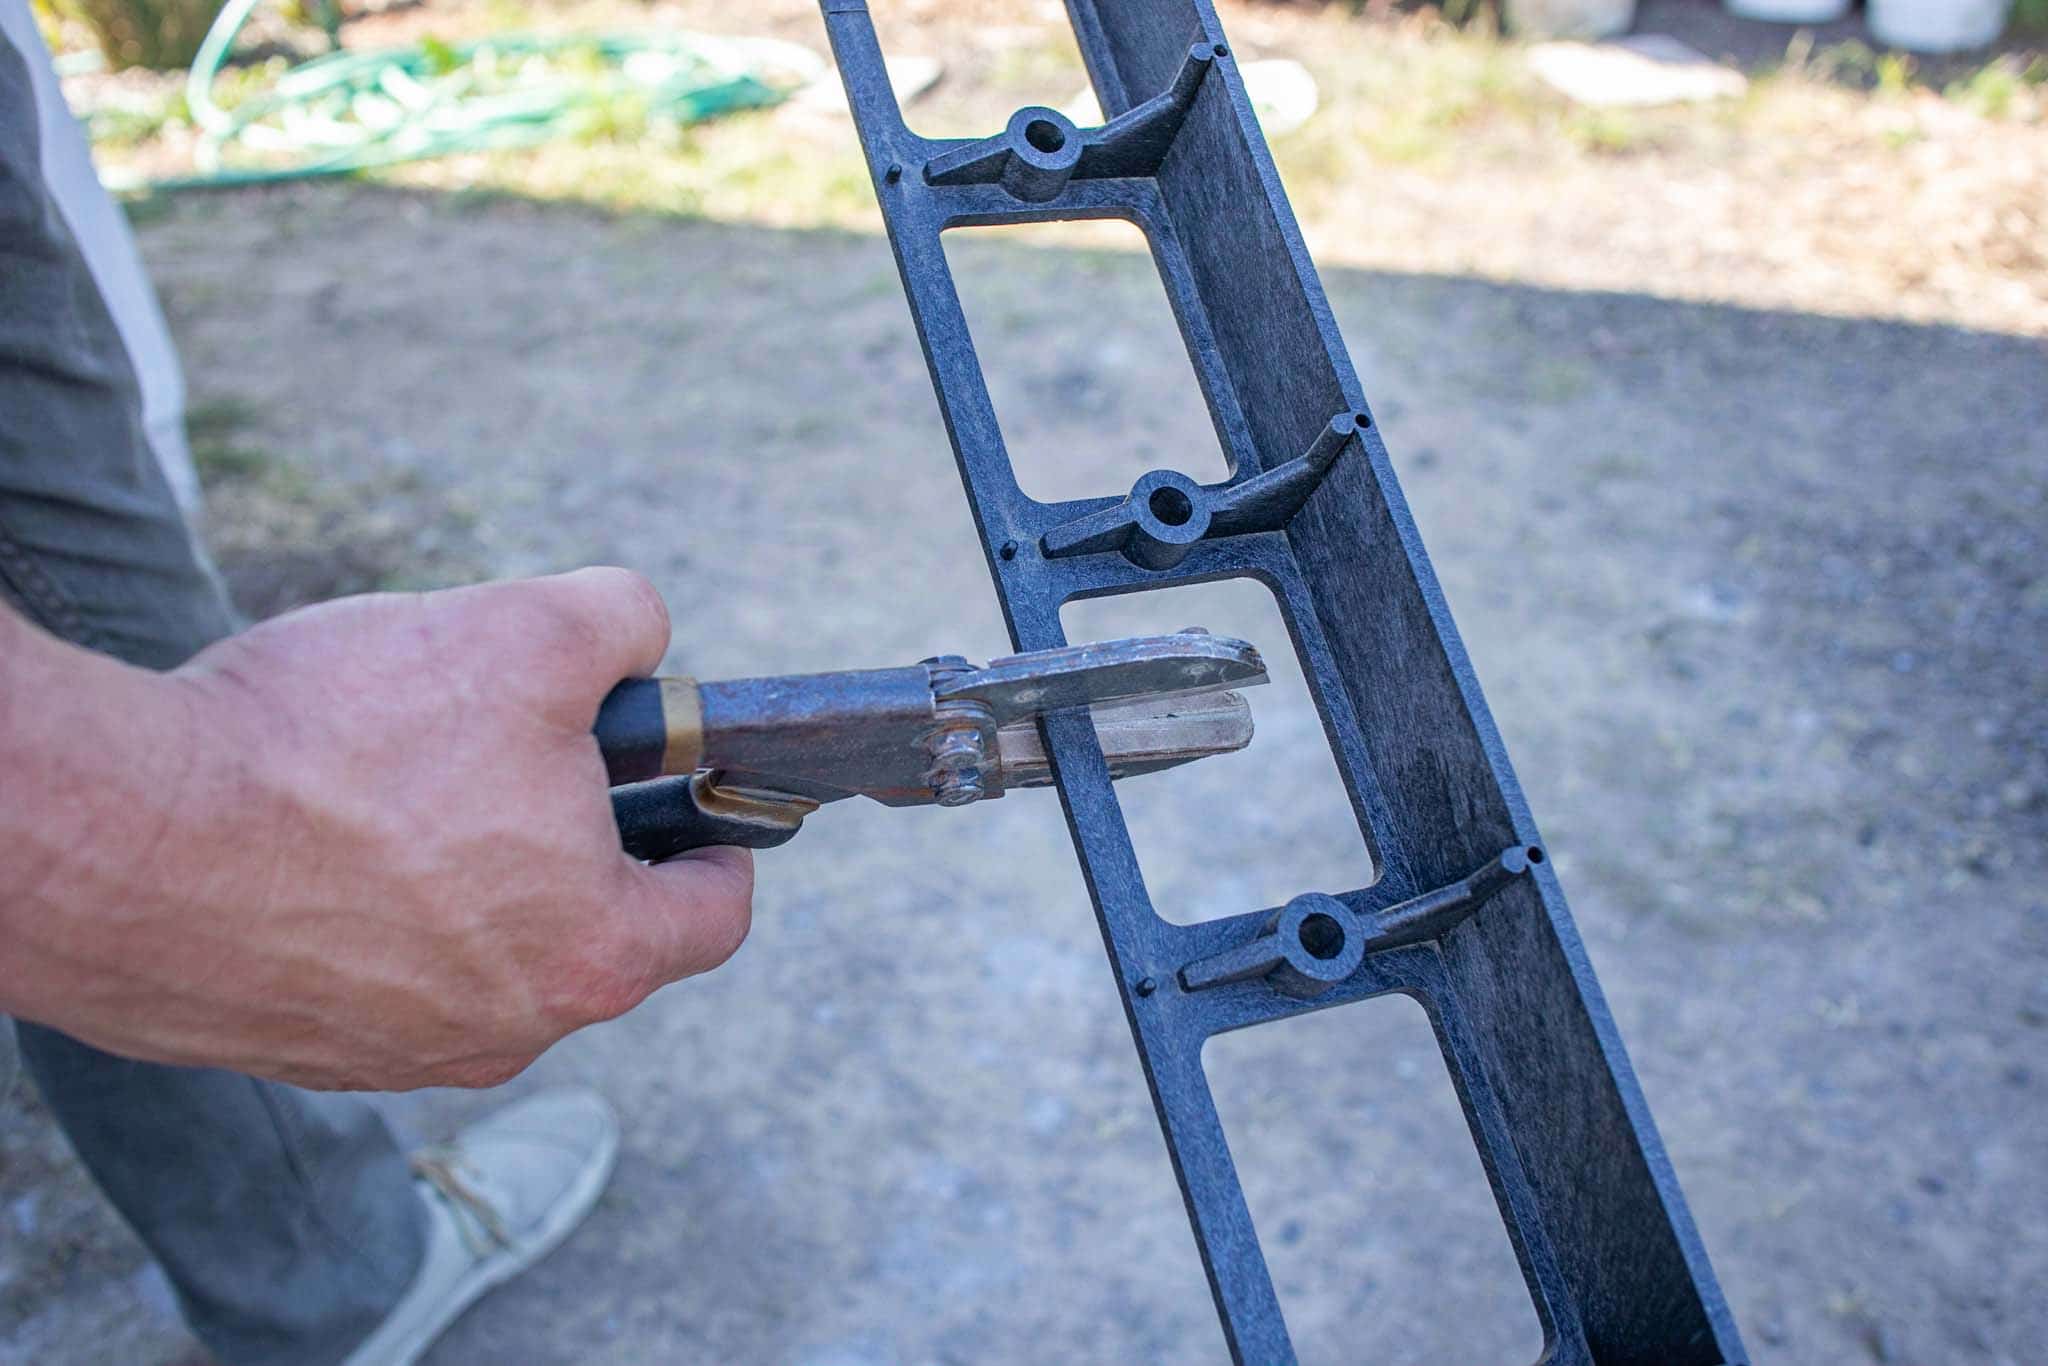
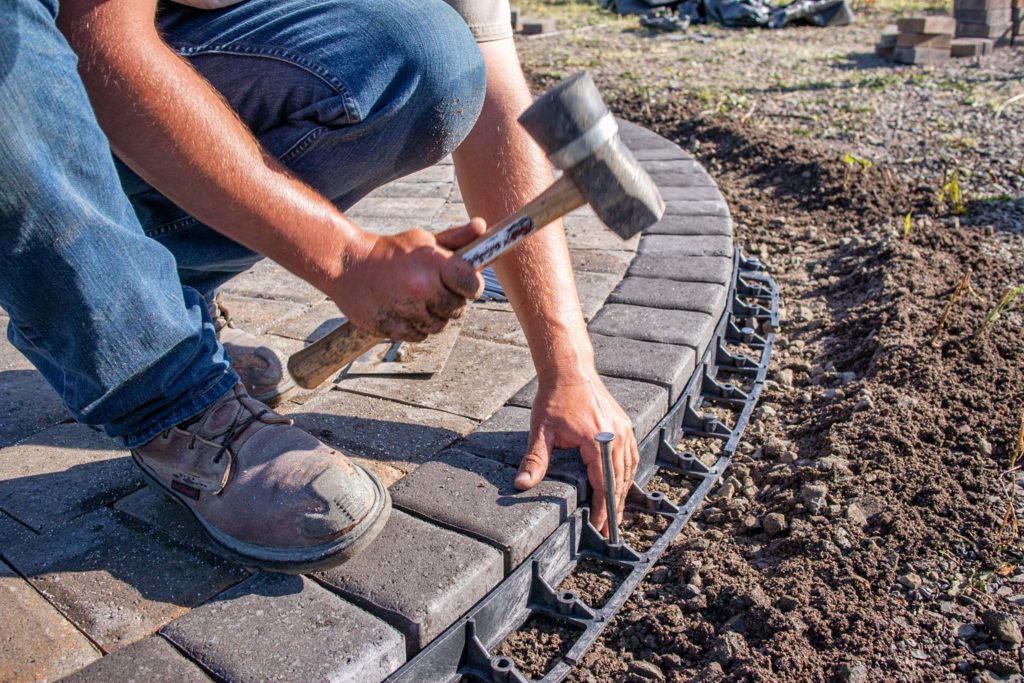
After your stones are laid, you’ll have to install edge restraint to ensure your patio keeps its shape. We used a simple plastic edge restraint. Concrete can also be used but requires a more difficult process. After every third hole, cut the thin back web on the outer side of your restraint so it’s able to bend around your circle patio.

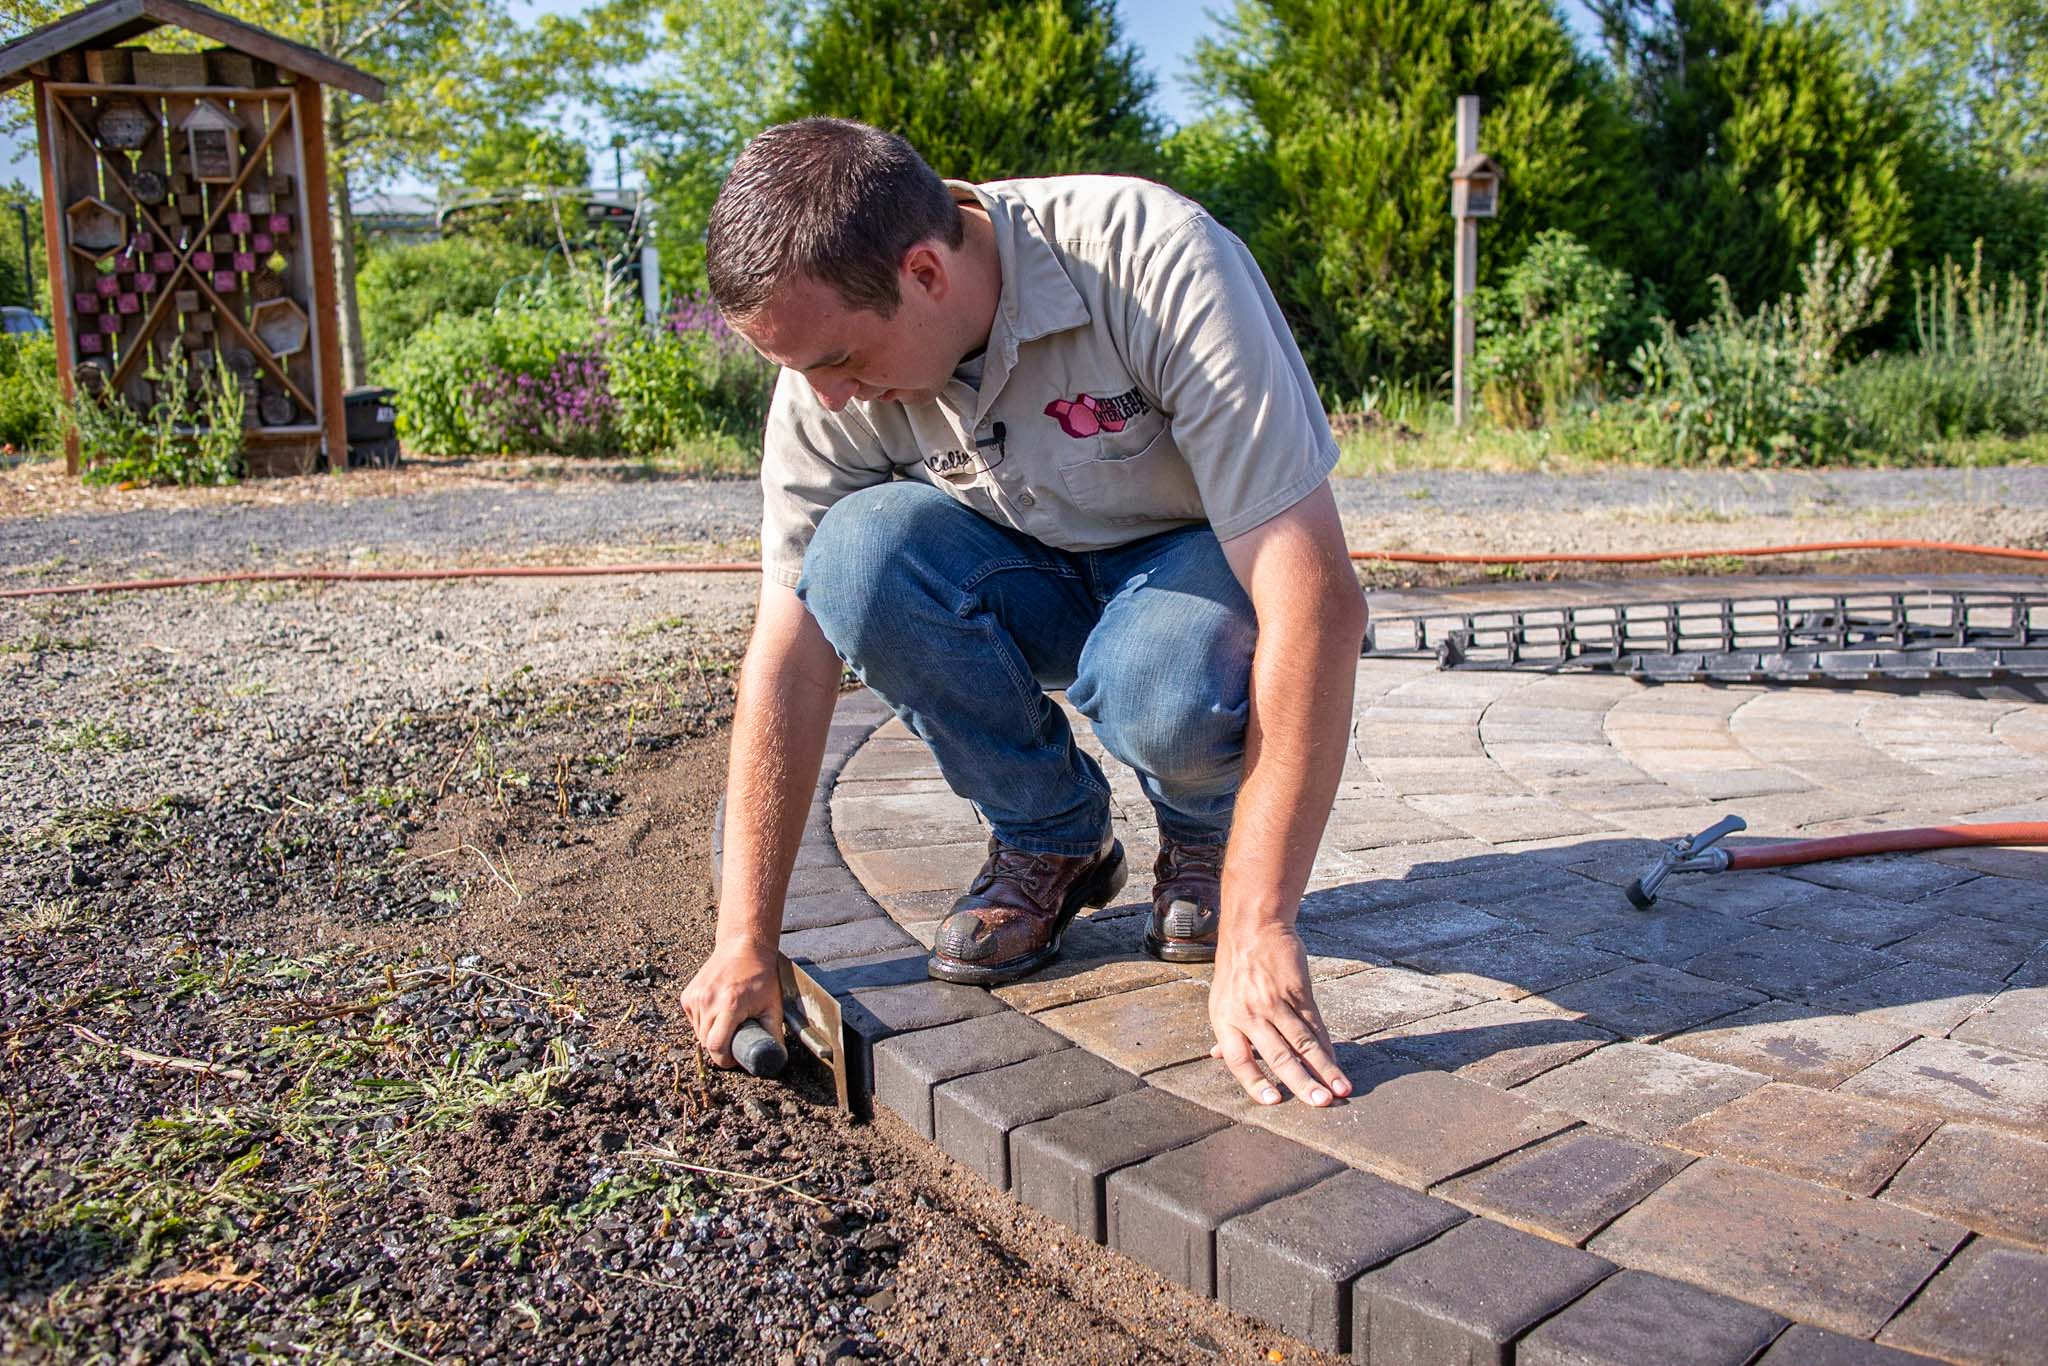
To install the edge restraint, you’ll want to start by removing the bedding sand from the perimeter of your patio so the edge restraint is anchored directly to the gravel base. Wet the bedding layer thoroughly so that the sand doesn’t crumble out from under the stones.

Next, set the restraint in place and hammer a non-galvanized 10” landscaping spike in every third hole. It’s important that your spikes are non-galvanized because you want them to rust. Yes, you read that right. The natural rusting that happens over time helps the spikes bond with the soil, gravel, and edge restraint so your restraint—and your patio—stay secure.
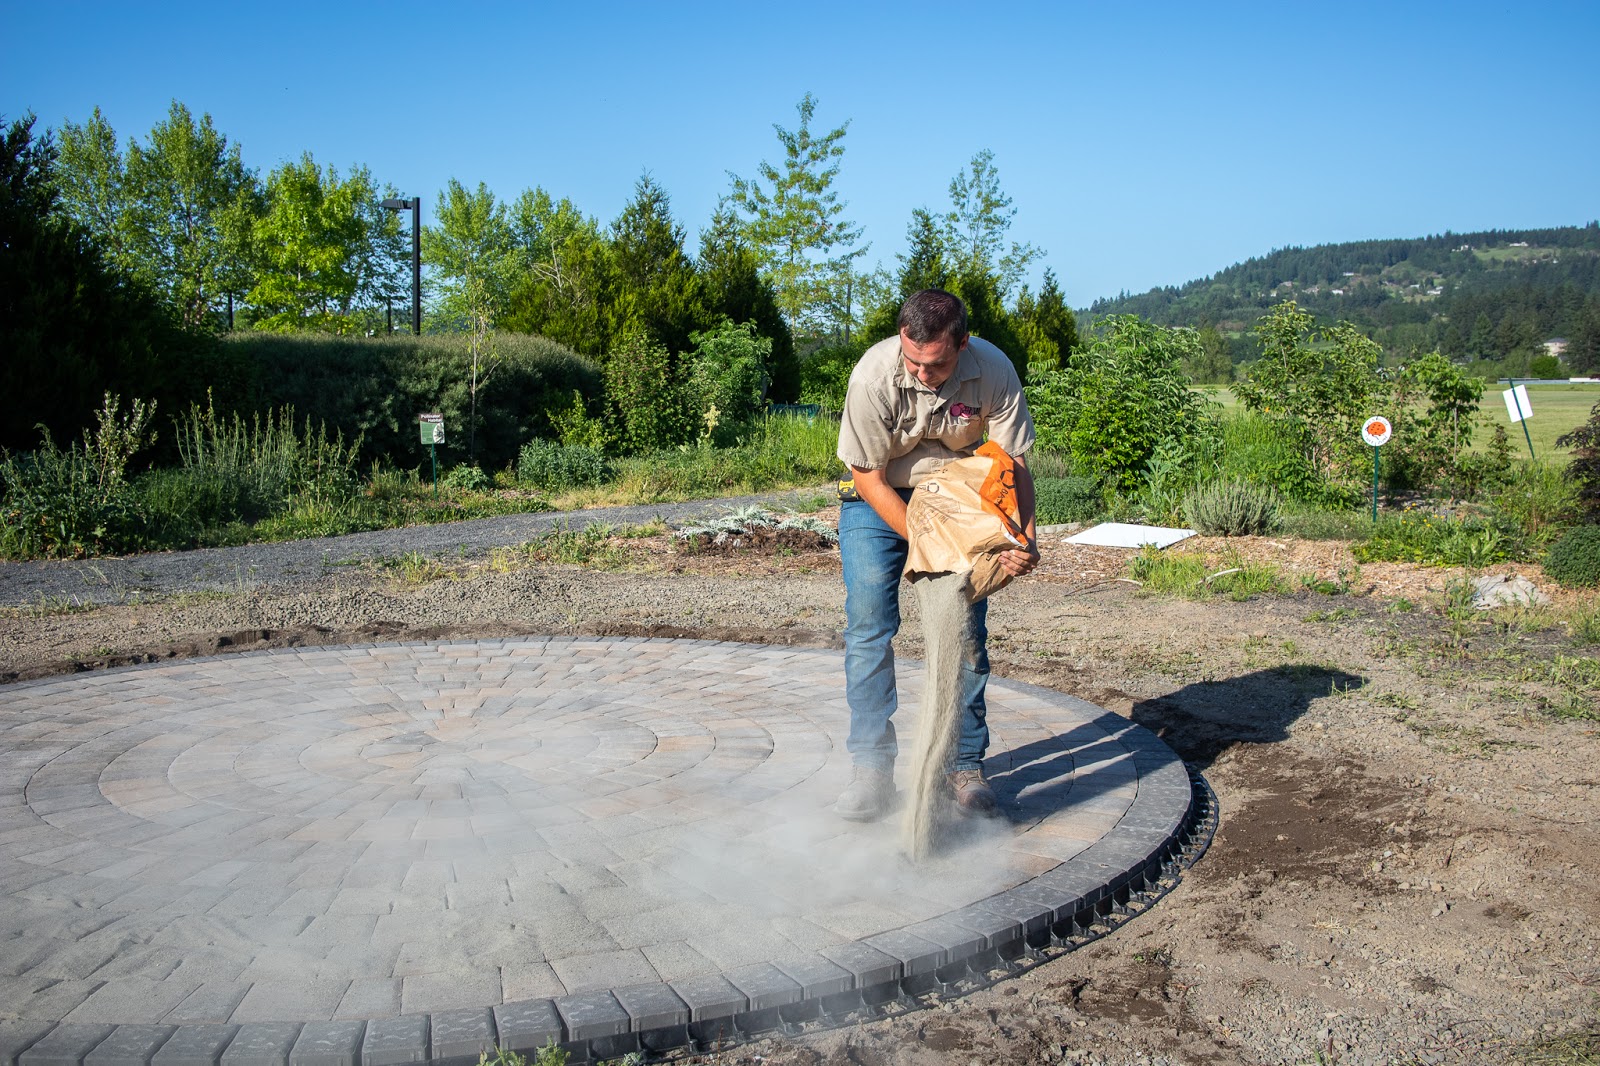
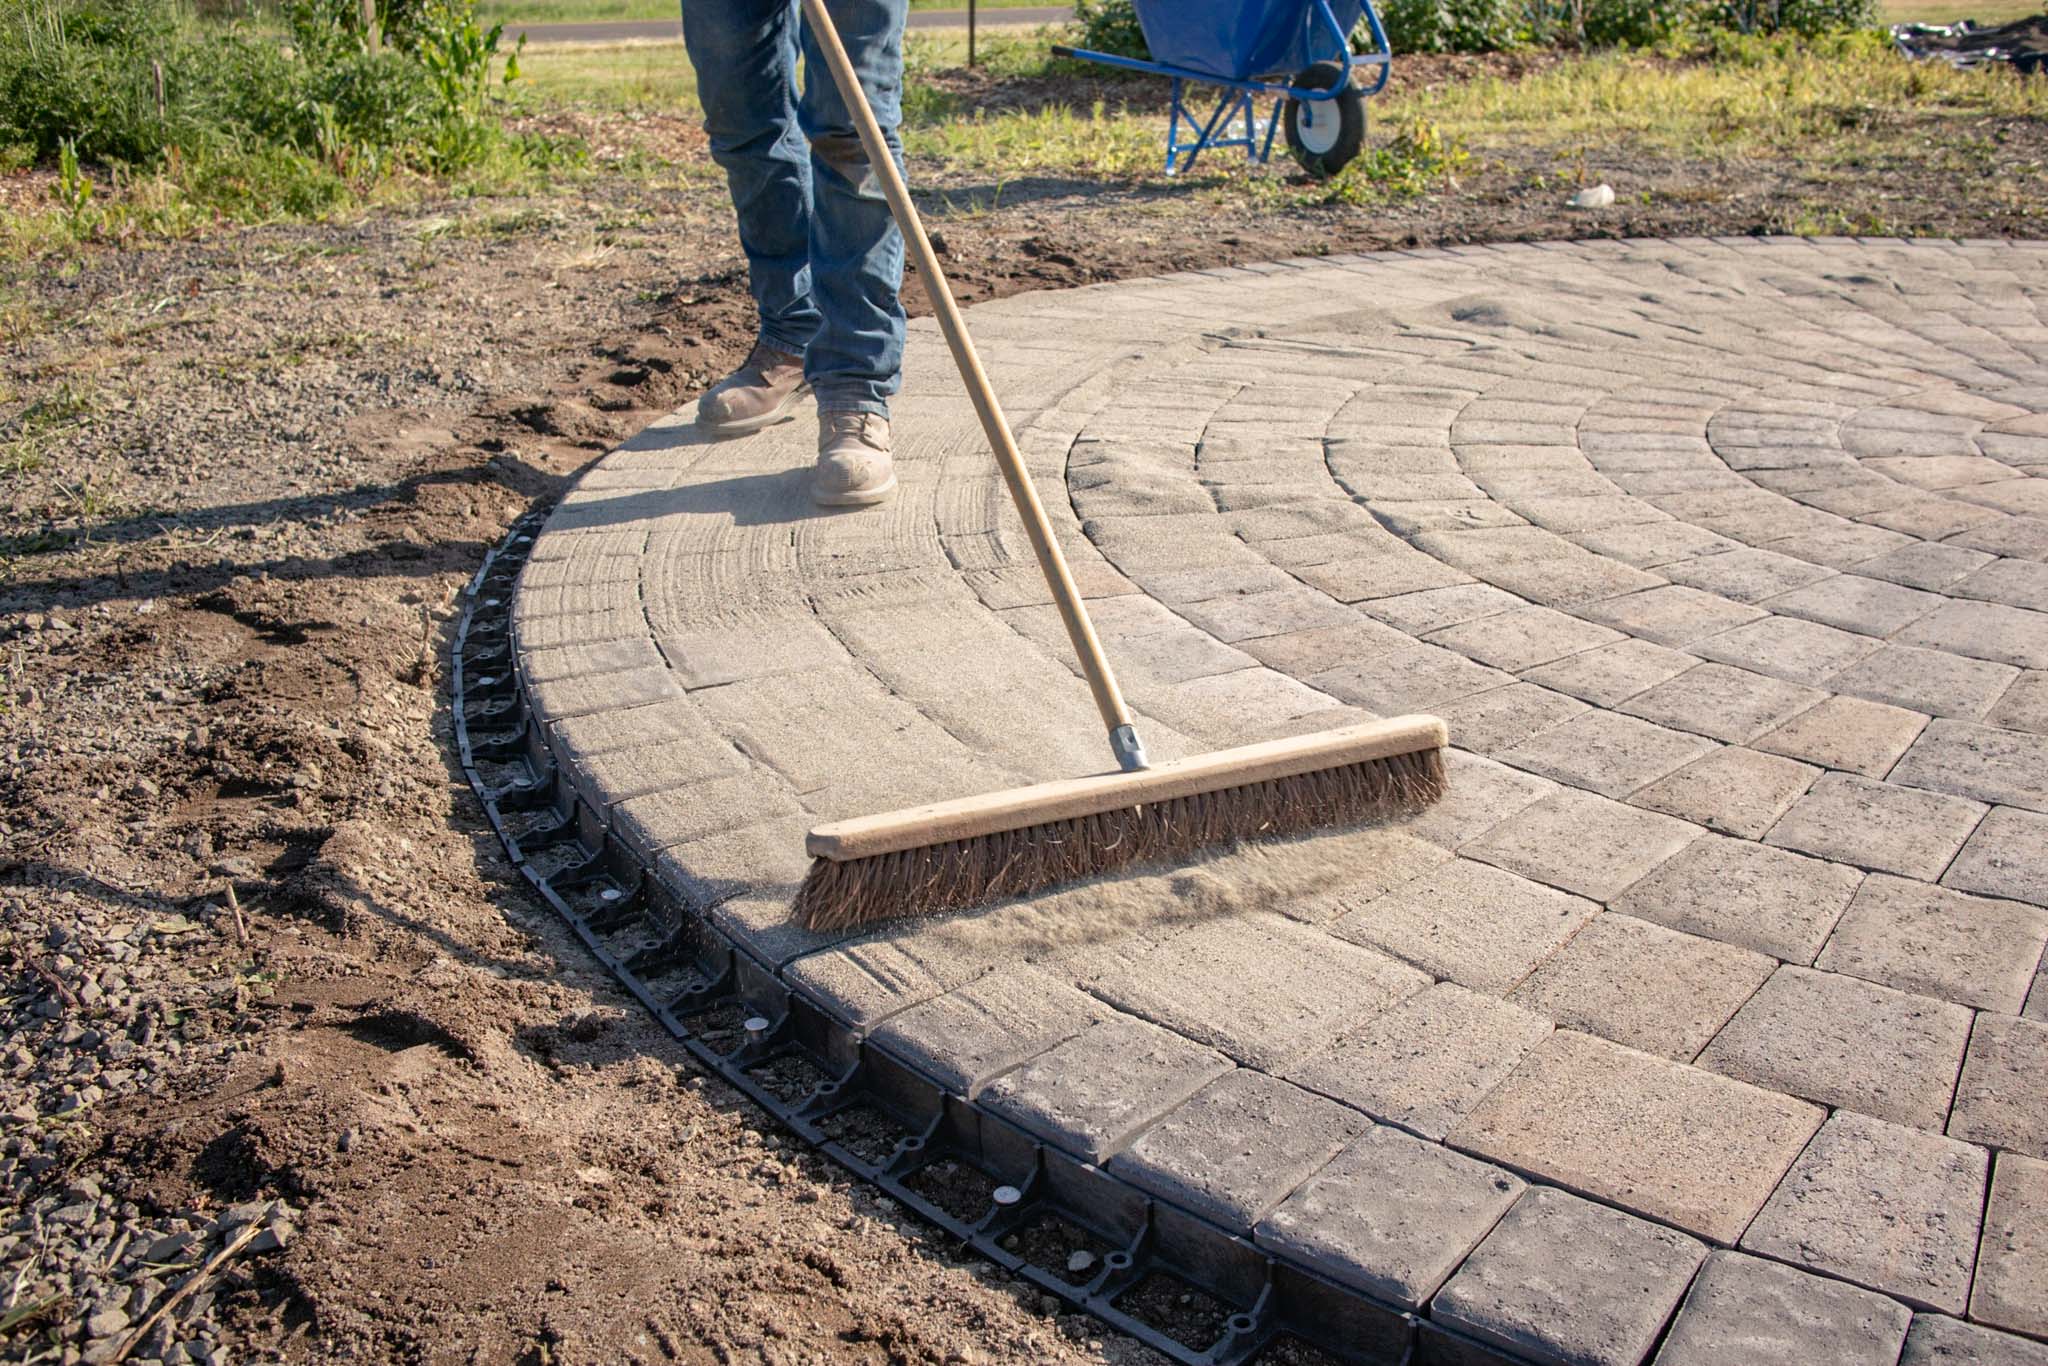
You’re almost done! There are just a few finishing steps remaining. You’ll want to run a plate compactor over the stones to help work them into the bedding sand. Then, you’ll dump fine sweeping sand on your patio stones. Spread as evenly as possible.

Sweep the sand around until it’s worked completely into the joints.

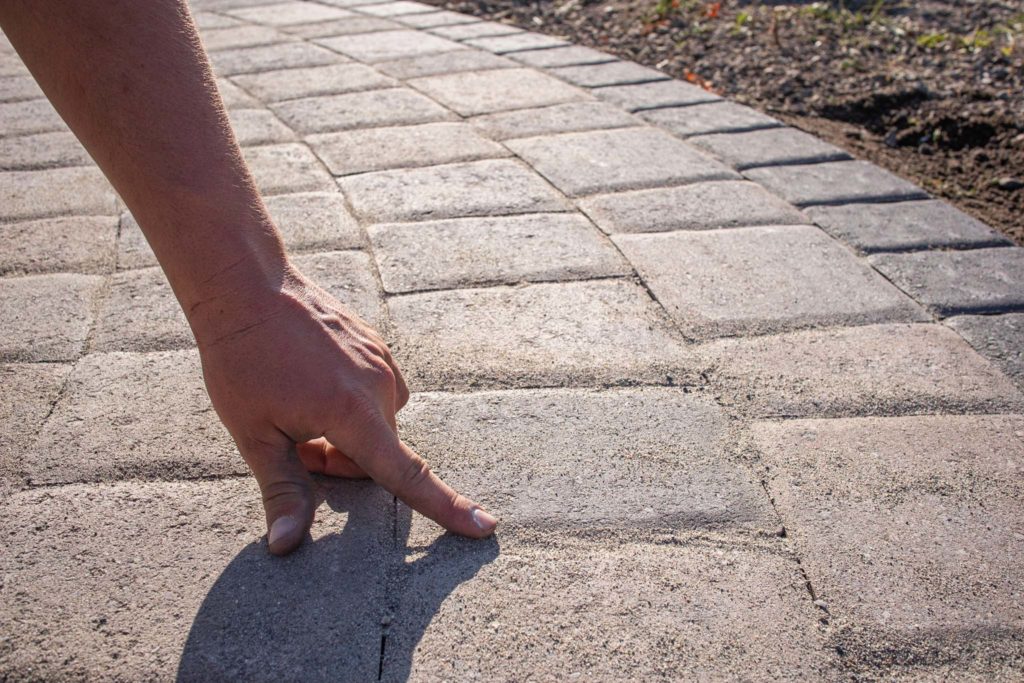
You’ll know you’ve swept in the sand well enough when the sand is worked into the paver joints. The image directly below shows an unfinished patio that needs more sweeping.
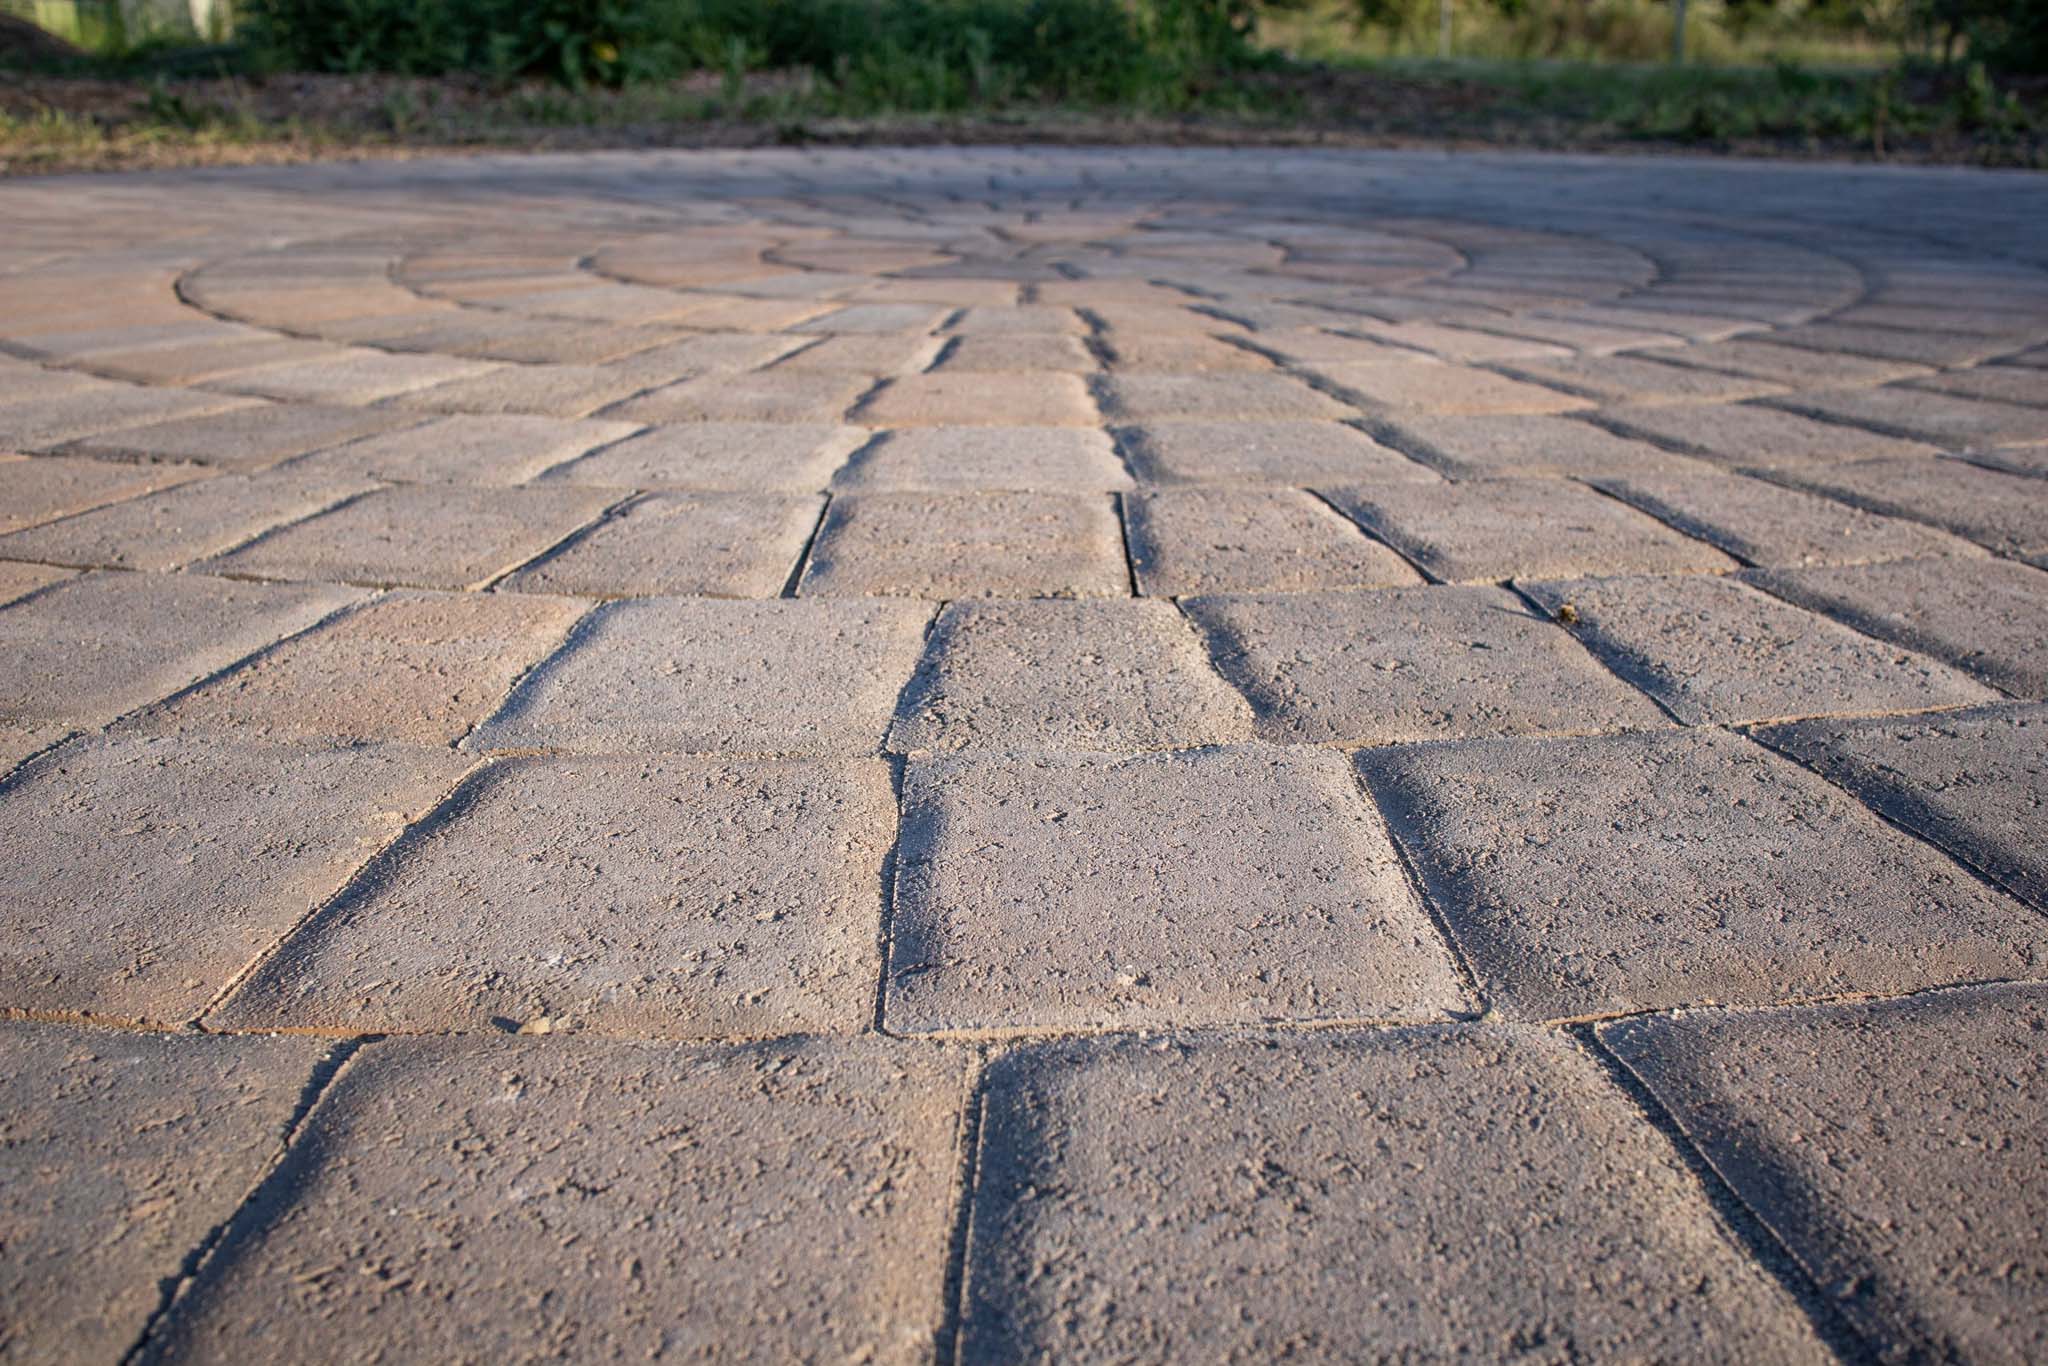
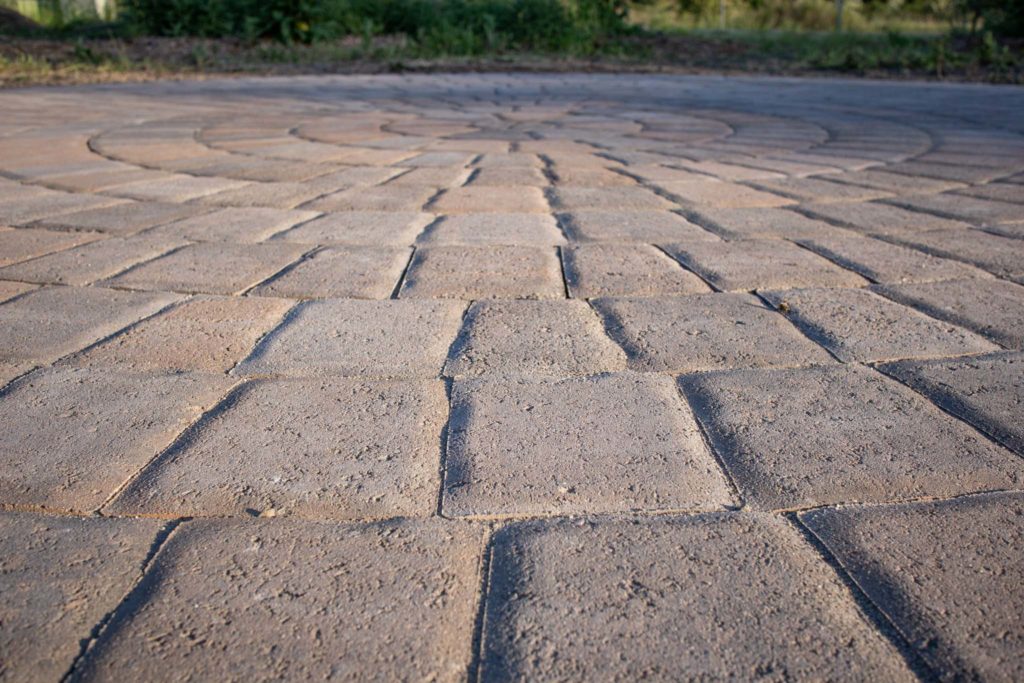
This image shows what it looks like to have sand fully worked into the joints.
Lastly, run a plate compactor over the patio one last time to work any additional sand into the joints to lock the stones securely together. Gently sweep or blow off any leftover sand, and it’s a done deal.
Here at Western Interlock, we’re on a mission to take the hard out of hardscaping. That’s why we frequently host a live DIY seminar at one of our manufacturing or distribution facilities.
You see, we created DIY with WI for everyday homeowners like you and me. In each seminar, we’ll personally walk you step-by-step through how to build and maintain your own hardscape. Join our next seminar for free.
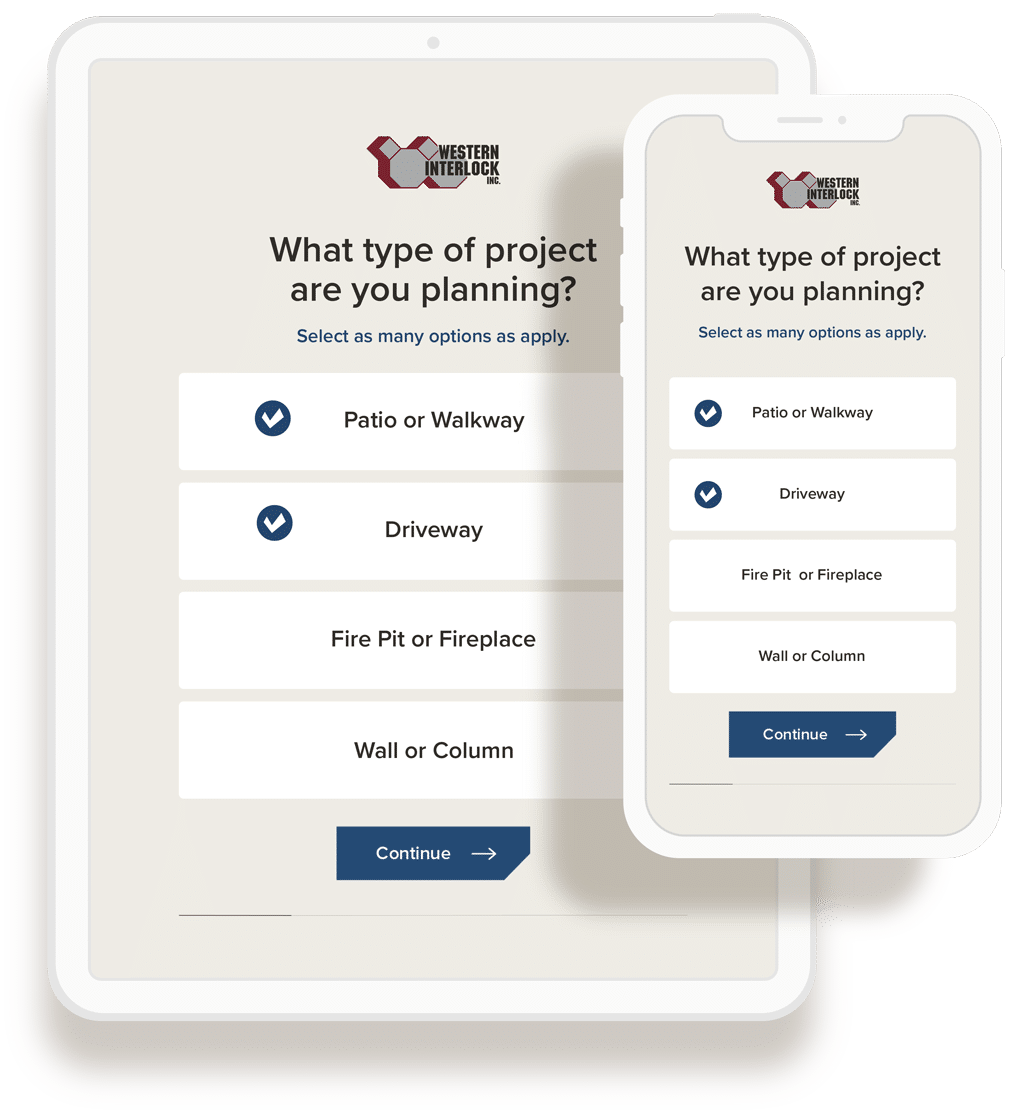
Choosing a paver can sure feel overwhelming. You have to consider size, style, thickness, color, and more. That’s why we made a short and simple quiz that asks a few questions about what you’re looking for and, at the end, provides a recommendation, or two, you can start with.
Learn More© 2024 Western Interlock. All rights reserved. Web Design by Structure.